|
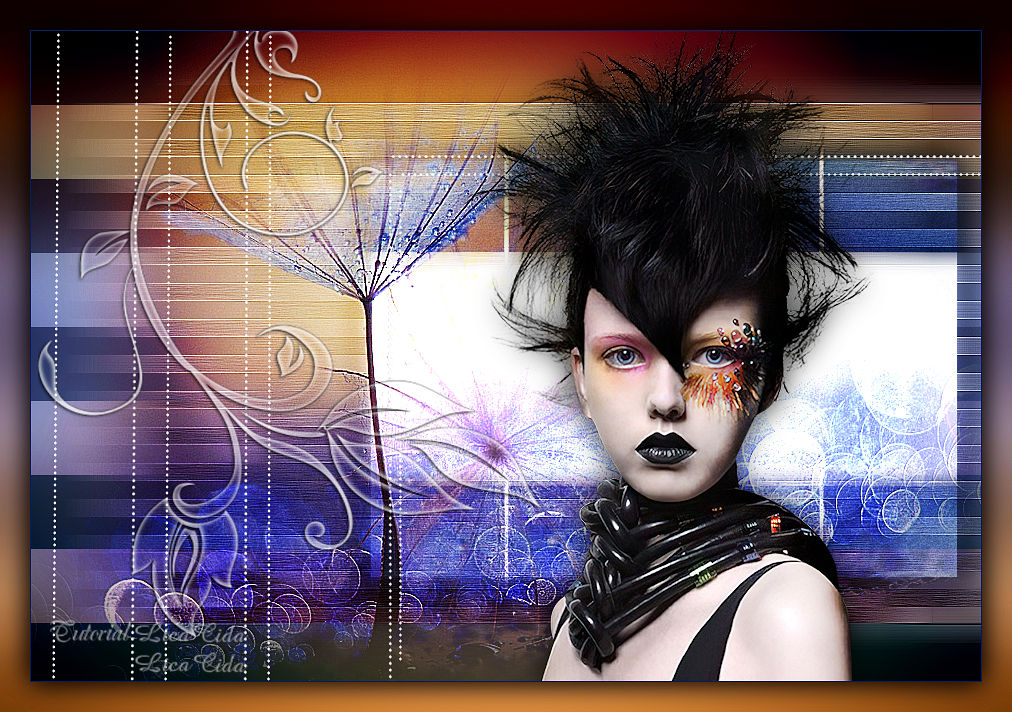
Dandelion
TRADUÇÕES

MATERIAL

Script: lines --
Salvar na pasta Scripts-Restricted do PSP.
Caso o script não rode, o efeito segue no material: scriptlines.
Styled Lines (arquivo Styled Lines.rar, no material)
Back: dandelion-back
Tubes: 134581672797_femmes_nikita
CAL-2460-0127187
Brush: ladofmurbah_i_love_life_brushes_3
Marca-d'água.
Efeitos do PSP.
Versão usada: PSP X9.
PLUGINS
Plugin VM Extravaganza → Transmission
Plugin VM Toolbox → Slipthrough
Plugin Nik Software → Color Efex Pro 3.0 → Graduated Filters
Plugin AAA Filters → Custom
TUTORIAL

|
Esta seta marca sua linha
Clique e arraste para movê-la
|
|
Configure: Foreground: #001e57 — Background: #ffffff.
1_.
Abra uma nova imagem transparente de 950 x 650 px.
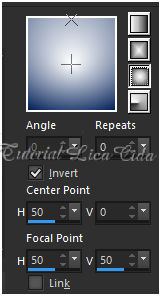
Pinte com o gradiente formado pelas cores acima.
Configure: Style: Sunburst — Repeats: 0 — Invert marcado — Center Point: H: 50 / V: 0 — Focal Point: H: 50 / V: 50.
2_.
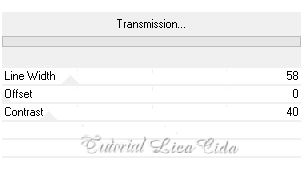
Plugin VM Extravaganza → Transmission.
Layers → Duplicate.
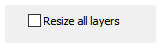
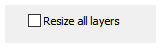
Image → Resize: 80% — Resize all layers desmarcado.
3_.
Com a ferramenta Magic Wand (Default), selecione a parte externa.
Selections → Invert.
Adjust → Blur → Gaussian Blur — Radius: 46,00.
4_.
Adjust → Add/Remove Noise → Add Noise.
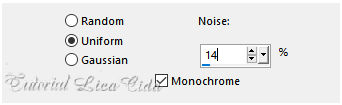
5_.
Edit → Copy no misted CAL-2460-0127187 (dandelion)
Edit → Paste Into Selection.
Selections → Select None.
6_.
Effects → Image Effects → Offset: H: 94 / V: -7 — Custom e Wrap marcados.
Effects → 3D Effects → Drop Shadow: 0 / 0 / 80 / 40,00 — Color: #000000.
Layers → Duplicate.
7_.
Ative a layer original (Copy of Raster 1).
Effects → Distortion Effects → Wind.
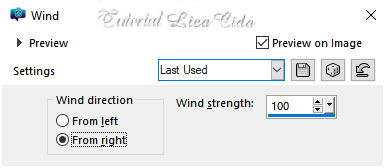
8_.
Plugin VM Extravaganza → Transmission.
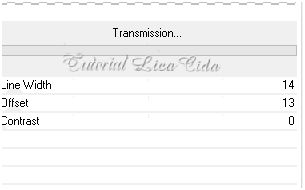
Effects → Edge Effects → Enhance More.
9_.
Ative a layer superior (Copy (2) of Raster 1).
Image → Resize: 80% — Resize all layers desmarcado.
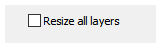
Effects → Image Effects → Offset: H: 94 / V: -7 — Custom e Wrap marcados.
10_.
Layers → New Raster Layer.
Rode o script lines.
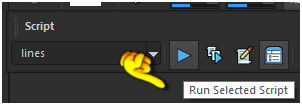
Procure o script lines e clique em Run Selected Script.
Caso o script não rode, o efeito segue no material (scriptlines).
Layers → Duplicate.
Image → Resize: 110% — Resize all layers desmarcado.
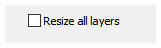
Layers → Merge → Merge Down.
11_.
Ative novamente a Copy (2) of Raster 1.
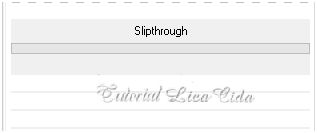
Plugin VM Toolbox → Slipthrough.
12_.
Effects → Reflection Effects → Rotating Mirror: 0 / 180 — Reflect.
Layers → Duplicate.
Objects → Align → Right.
Layers → Merge → Merge Down.
13_.
Edit → Copy no misted CAL-2460-0127187 (dandelion)
Edit → Paste As New Layer.
Adjust → Sharpness → Sharpen More.
14_.
Ative a Raster 1.
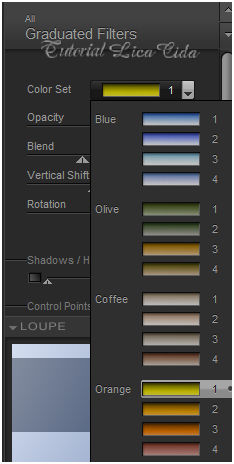
Plugin Nik Software → Color Efex Pro 3.0 → Graduated Filters — Color Set: Orange 1 — Default.
15_.
Edit → Copy no dandelion-back
Edit → Paste As New Layer.
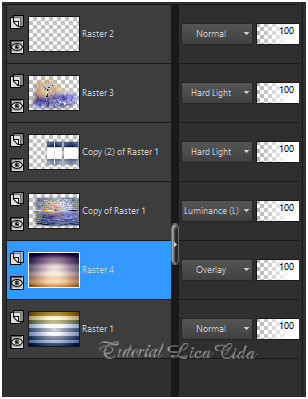
Altere os Blend Modes e a Opacity das layers (use a gosto).
16_.
Ative a layer superior (Raster 2).
Edit → Copy no tube 134581672797_femmes_nikita
Edit → Paste As New Layer.
Image → Resize: 80% — Resize all layers desmarcado (aplique duas vezes).
Posicione.
17_.
Edit → Copy no ladofmurbah_i_love_life_brushes_3 (Raster 2)
Edit → Paste As New Layer.
Posicione.
Image → Add Borders: 1 px — Color: Foreground.
18_.
Ative a Raster 4 e use Edit → Copy.
Image → Add Borders: 30 px — Color: #ffffff.
Selecione a borda.
19_.
Edit → Paste Into Selection (imagem copiada da Raster 4).
20_.
Plugin Nik Software → Color Efex Pro 3.0 → Graduated Filters — Color Set: Orange 1 — Default (print do item 14).
Selections → Invert.
Effects → 3D Effects → Drop Shadow: 0 / 0 / 80 / 40,00 — Color: #000000.
Selections → Select None.
Plugin AAA Filters → Custom — Sharp (Default).
Opcional.
Aplique a marca-d'água.
Assine e salve.
Espero que gostem.
Obrigada!
Aparecida / LicaCida, outubro de 2020.
Rio de Janeiro - Brasil.


VOLTAR
Copyright ©2026 - Web Design - Naise Minas
|


