|
Dushi TRADUÇÕES
MATERIAL
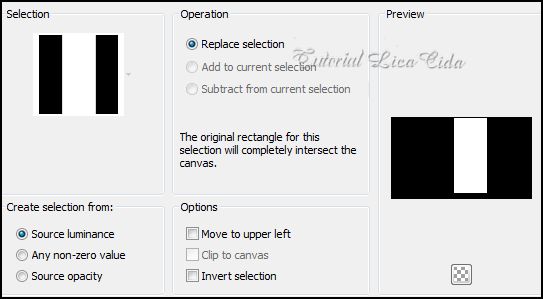
Seleção: Narah_Seleccion1_Black_White --
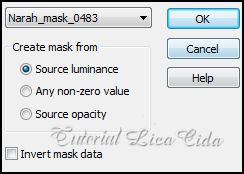
Mask: Narah_mask_0483
Tubes: calguismistedautomne1399
Marca-d'água.
Versão usada: PSP X6.
PLUGINS
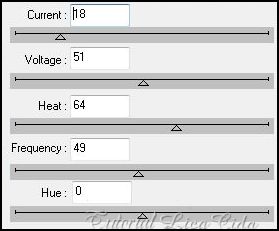
Plugin dsb flux → Linear Transmission
TUTORIAL
1_. Abra uma nova imagem transparente de 900 x 600 px. 2_. Selections → Load/Save Selection → Load Selection From Disk → Narah_Seleccion1_Black_White.
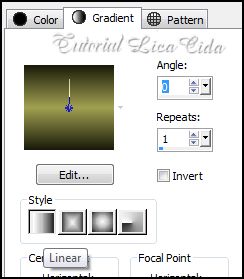
3_. Pinte com o gradiente formado pelas cores #1a1b0b e #a1a050. Configure: Style: Linear — Angle: 0 — Repeats: 1 — Invert desmarcado.
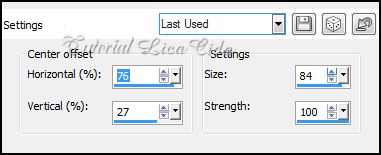
Selections → Select None. Edit → Cut. Edit → Paste As New Layer. Layers → Merge → Merge Down. 4_. Effects → Distortion Effects → Warp.
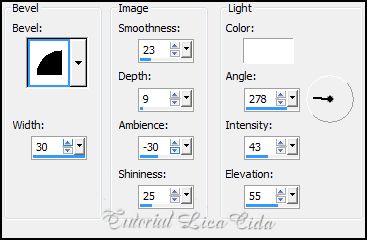
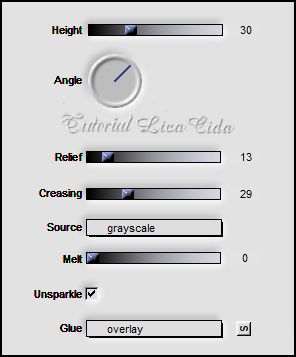
Repita o item 4, com os mesmos valores. 5_. Effects → 3D Effects → Inner Bevel.
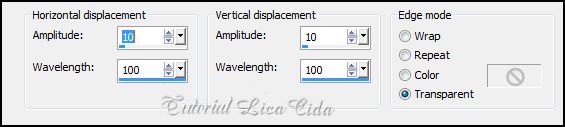
6_. Effects → Distortion Effects → Wave.
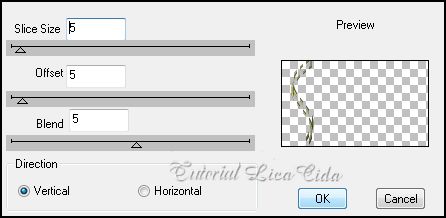
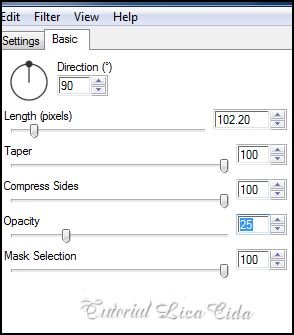
Layers → Duplicate. 7_. Plugin dsb flux → Linear Transmission.
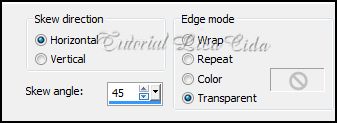
Layers → Merge → Merge Down. 8_. Effects → Geometric Effects → Skew.
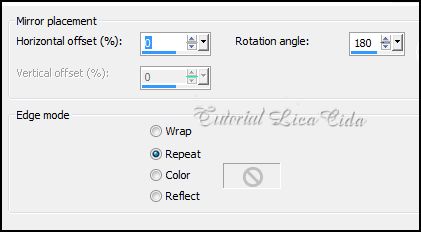
9_. Effects → Reflection Effects → Rotating Mirror.
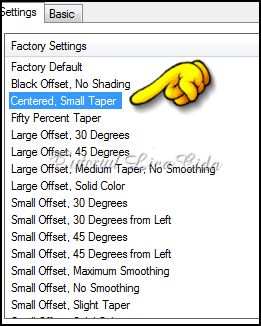
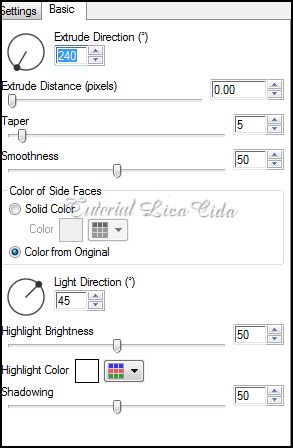
10_. Plugin Alien Skin Eye Candy 5: Impact → Extrude.
11_. Plugin Alien Skin Eye Candy 5: Impact → Motion Trail.
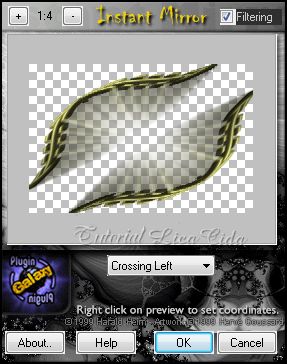
12_. Plugin Galaxy.
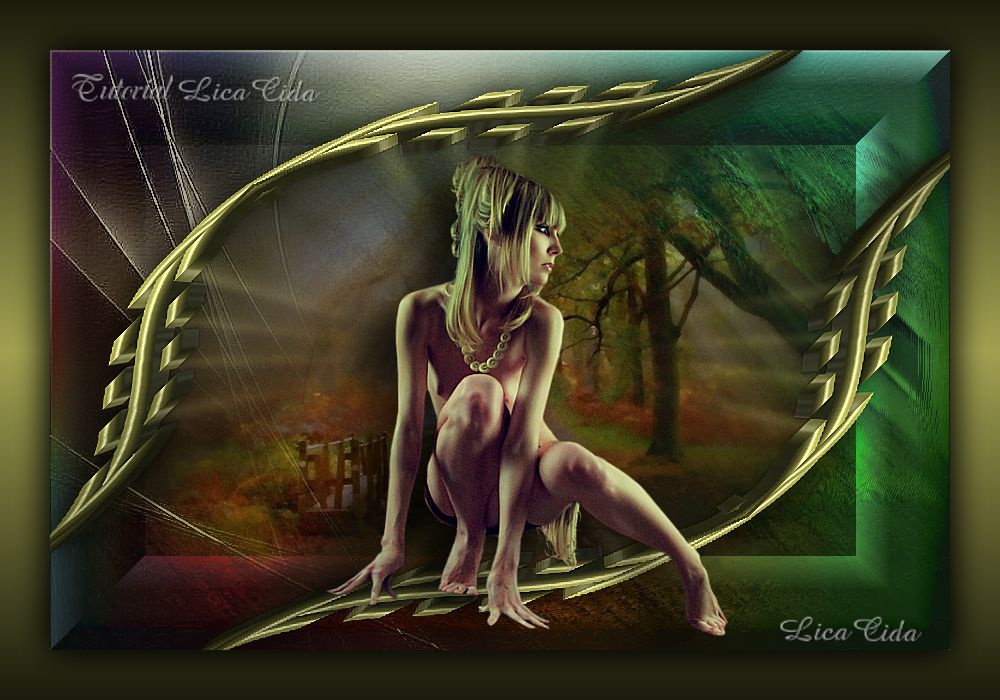
13_. Layers → New Raster Layer. Pinte com o mesmo gradiente formado no item 3. Selections → Select All. Edit → Copy no tube calguismistedautomne1399 Edit → Paste Into Selection. Selections → Select None. 14_. Plugin Flaming Pear → Boss Emboss.
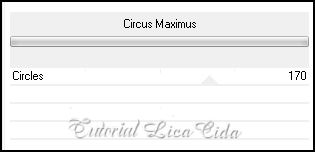
15_. Plugin &<Bkg Designer sf10 I>.
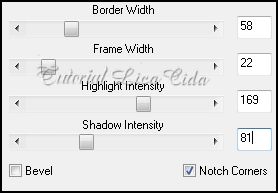
16_. Plugin BorderMania → Frame #2.
Layers → Arrange → Send to Bottom. 17_. Layers → New Raster Layer. Pinte com a cor #a1a050, usada no Background. Layers → New Mask Layer → From Image: Narah_mask_0483 — Invert mask data desmarcado.
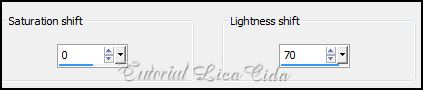
Effects → Edge Effects → Enhance More. Layers → Merge → Merge Group. 18_. Adjust → Hue and Saturation → Hue Map.
19_. Effects → 3D Effects → Drop Shadow: 2 / 2 / 100 / 2,00 — Color: #000000. 20_. Edit → Copy no tube calguismistedautomne1399 Edit → Paste As New Layer. Image → Resize: 80% — Resize all layers desmarcado. 21_. Layers → New Raster Layer. Layers → Arrange → Send to Bottom. Plugin dsb flux → Electrosphere.
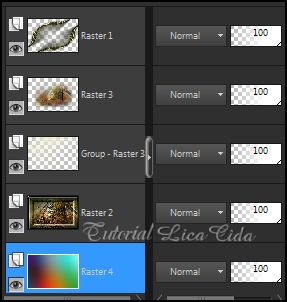
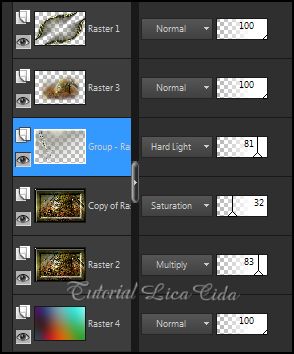
22_. Adjust → Blur → Gaussian Blur — Radius: 100,00. LAYERS
Altere os Blend Modes e a Opacity das layers.
23_. Ative a Raster 1. Edit → Copy no tube AR740 Edit → Paste As New Layer. Posicione a gosto. Aplique a marca-d'água. Assine e salve. Espero que gostem.
Aparecida / LicaCida, agosto de 2014.
Copyright ©2026 - Web Design - Naise Minas |