|
Flávia TRADUÇÕES
MATERIAL
Back: backflavia-lc
Tubes: SuizaBella_Ref_AG-004298
Decor: Callitubes-243decor
Marca-d'água.
PLUGINS
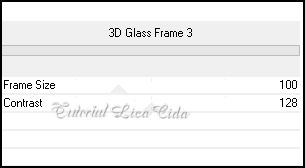
Plugin Filters Unlimited 2.0 → Buttons & Frames → 3D Glass Frame 3
TUTORIAL
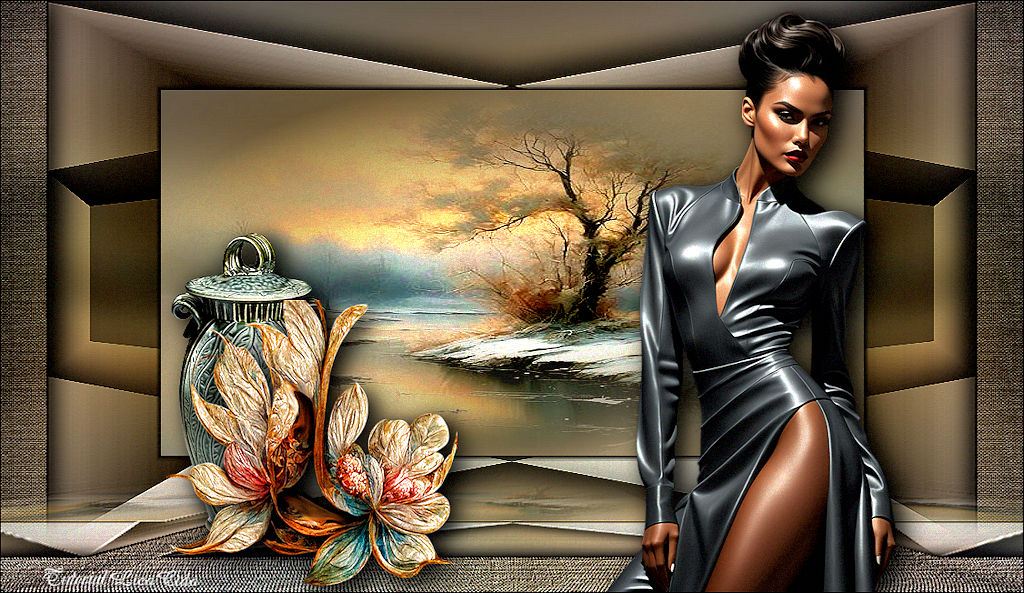
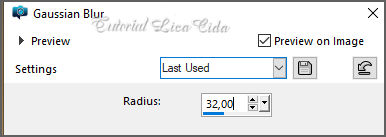
1_. Abra o material no PSP, duplique e feche o original. 2_. Abra o backflavia-lc anexado (caso não goste da cor, colorize; use a gosto). Layers → Duplicate. Feche a layer Background; vamos trabalhar na cópia. 3_. Selections → Select All. Edit → Copy no tube Callitubes-110paisagens Edit → Paste Into Selection. Selections → Select None. 4_. Adjust → Blur → Gaussian Blur.
5_. Plugin Filters Unlimited 2.0 → Buttons & Frames → 3D Glass Frame 3.
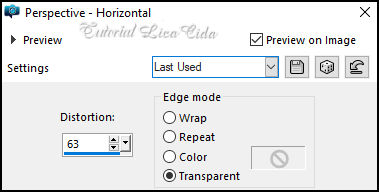
Effects → User Defined Filter → Emboss_3. 6_. Effects → Geometric Effects → Perspective - Horizontal.
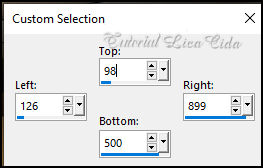
7_. Layers → Duplicate. Image → Mirror. Blend Mode: Multiply — Opacity: 100%. Layers → Merge → Merge Down. Effects → 3D Effects → Drop Shadow: 0 / 0 / 100 / 50,00 — Color: #000000. Abra a visibilidade da layer Background. 8_. Ative a ferramenta Selection Tool (tecla S) → Custom Selection.
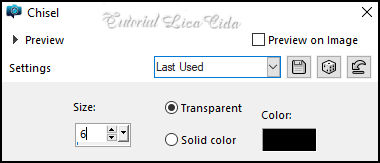
Aperte a tecla Delete. 9_. Layers → New Raster Layer. Edit → Copy no tube Callitubes-110paisagens Edit → Paste Into Selection. Adjust → Sharpness → Sharpen. 10_. Effects → 3D Effects → Chisel — Color: #000000.
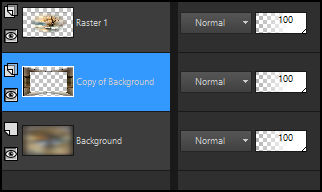
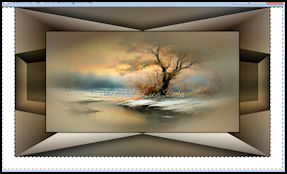
Selections → Select None. 11_. Ative a layer Copy of Background. Adjust → One Step Photo Fix. Confira as layers:
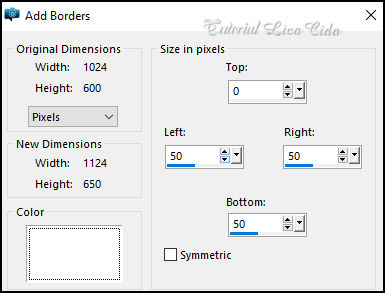
12_. Edit → Copy Special → Copy Merged. 13_. Image → Add Borders — Color: #ffffff.
14_. Com a ferramenta Magic Wand (Default), selecione a parte lisa (no caso, a borda branca).
15_. Edit → Paste Into Selection. Effects → 3D Effects → Drop Shadow: 0 / 0 / 100 / 50,00 — Color: #000000. Edit → Repeat Drop Shadow. 16_. Edit → Repeat: Adjust → Blur → Gaussian Blur (item 4). 17_. Plugin Filters Unlimited 2.0 → Paper Textures → Canvas, Fine — Default (156 / 87). Edit → Repeat. Selections → Select None. Layers → Duplicate. 18_. Plugin MuRa's Meister → Perspective Tiling: Height: 20. Com a ferramenta Magic Wand (Tolerance: 0 — Feather: 70), clique na parte transparente. Aperte a tecla Delete do teclado 6 ou 7 vezes (tente tirar a marca da paisagem). Selections → Select None. Effects → User Defined Filter → Emboss_3. Adjust → One Step Photo Fix. 19_. Edit → Copy no tube SuizaBella_Ref_AG-004298 Edit → Paste As New Layer. Resize e posicionamento a gosto. 20_. Edit → Copy no Callitubes-243decor Edit → Paste As New Layer. Resize e posicionamento a gosto. 21_. Edit → Copy no tube Callitubes-802flores Edit → Paste As New Layer. Resize e posicionamento a gosto. Image → Add Borders: 1 px, Symmetric marcado — Color: #000000. Image → Resize: Width 1024 px. Aplique a marca-d'água. Assine e salve. File → Export → JPEG Optimizer.
Aparecida / LicaCida, maio de 2024.
Copyright ©2026 - Web Design - Naise Minas |