|
Inesquecível Hilda Rosa TRADUÇÕES
MATERIAL
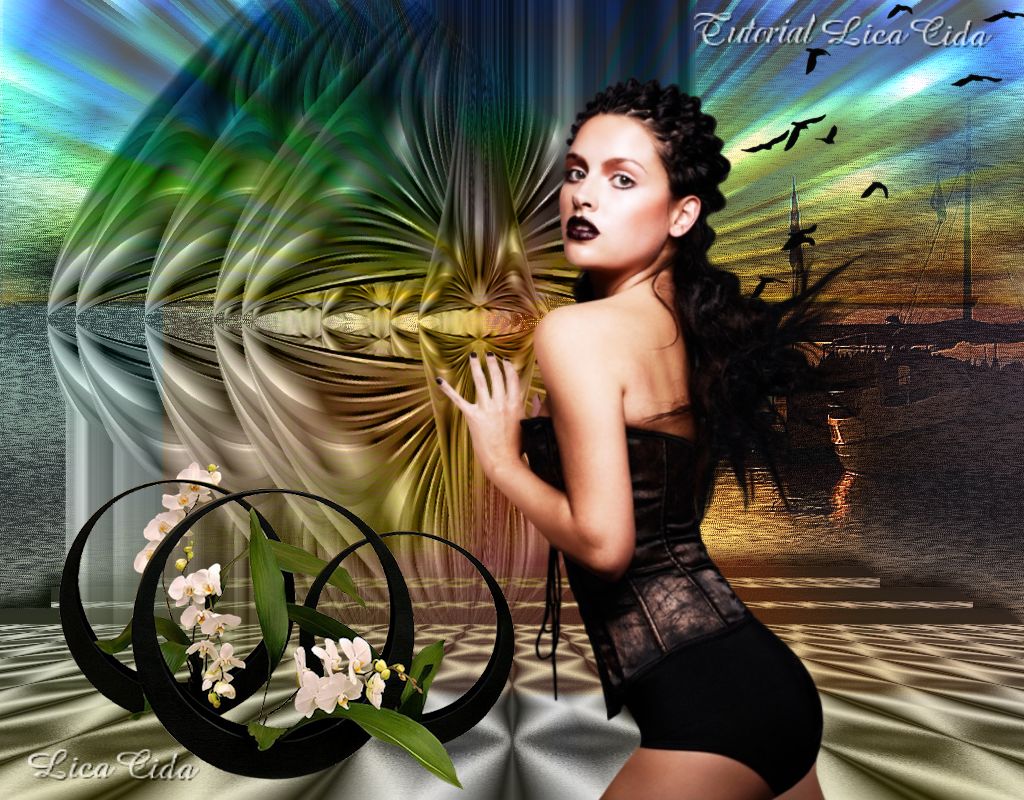
Tubes: Joanie_Woman
Elemento: BIK1 Back: colorido1 Mask: !!!!.mask.ket-fadesuave
Marca-d'água.
Versão PSP X5.
PLUGINS
Plugin VM Stylize → Deep Crunch
TUTORIAL
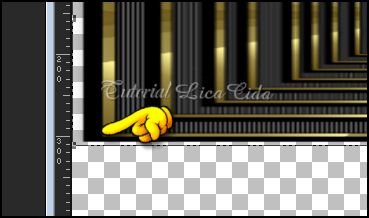
1_. Abra uma nova imagem transparente de 1024 x 600 px. Selections → Select All. Edit → Copy no elemento BIK1 Edit → Paste Into Selection. Selections → Select None. 2_. Ative a ferramenta Pick Tool e suspenda o elemento BIK1 para 310 px.
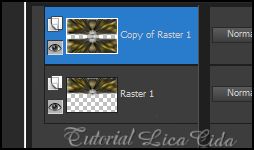
3_. Plugin VM Stylize → Deep Crunch → Default. 4_. Plugin VM Stylize → Zoom Blur → Default. OBSERVAÇÃO Verifique se o efeito está nesse plugin. Ele também poderá ser encontrado instalado no VM Toolbox. 5_. Image → Canvas Size: 1024 x 700 — Bottom: 100. Layers → Duplicate. Image → Flip. Ative a Raster 1 e duplique essa layer. Ative a Copy of Raster 1, a layer superior. Layers → Merge → Merge Down. Layers:
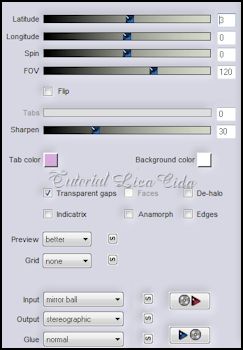
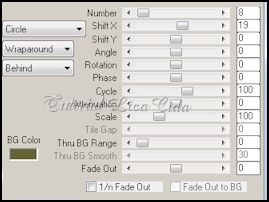
6_. Effects → Geometric Effects → Circle → Transparent. Repita o efeito. Duplique essa layer. 7_. Plugin Flaming Pear → Flexify 2.
Layers → Merge → Merge Down. 8_. Aplique a !!!!.mask. Layers → Merge → Merge Group. Image → Flip. Repita o item 8, aplicando novamente !!!!.mask. Image → Flip. 9_. Plugin MuRa's Meister → Copies → Line.
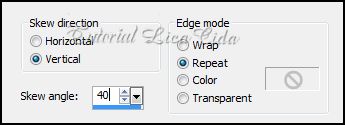
10_. Effects → Geometric Effects → Skew.
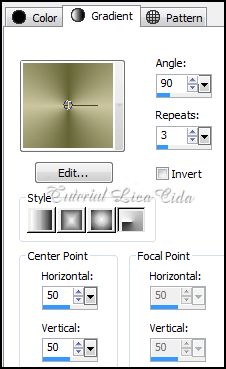
Repita o item 10 usando o valor negativo: -40. 11_. Aplique a !!!!.mask. Layers → Merge → Merge Group. Effects → Image Effects → Offset: -130 / 30. 12_. Image → Canvas Size: 1024 x 800 — Bottom: 100. Layers → New Raster Layer. Layers → Arrange → Send to Bottom. Pinte com o gradiente formado pelas cores #cbc6a0 e #656436. Configure: Style: Radial — Angle: 90 — Repeats: 3 — Invert desmarcado — H: 50 / V: 50.
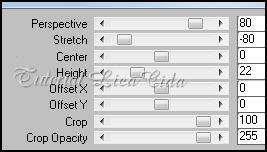
13_. Plugin Tramages → Wee Scratches → Default. 14_. Effects → Artistic Effects → Chrome: 3 / 32 — Color: #cbc6a0 (cor clara). 15_. Layers → Duplicate. Plugin MuRa's Meister → Perspective Tiling.
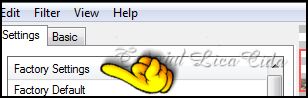
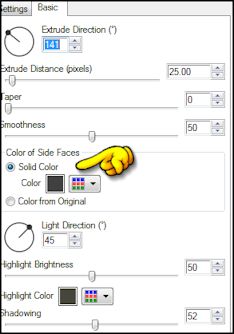
16_. Plugin Alien Skin Eye Candy 5: Impact → Extrude. Settings:
Basic: Solid Color — Color: #404040.
Layers → Duplicate. Image Resize 90% - Resize all layers desmarcado. Layers → Merge → Merge Down. Layers → Duplicate.
Image Resize 80% - Resize all layers desmarcado.
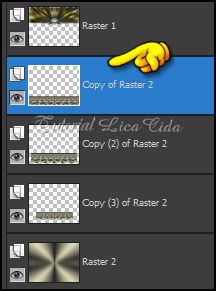
Effects → Image Effects → Offset: 0 / -16. Ative a Copy of Raster 2. Aplique duas vezes: Layers → Merge → Merge Down.
Effects → 3D Effects → Drop Shadow: 10 / 10 / 100 / 10,00 — Color: #000000. Repita com os valores negativos: -10 / -10 / 100 / 10,00. Layers:
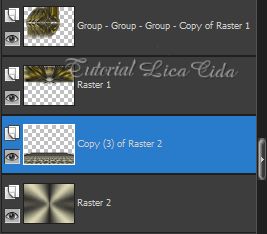
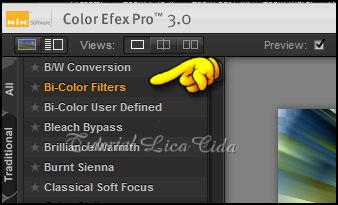
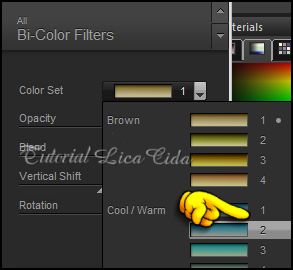
17_. Ative a Raster 2. Layers → New Raster Layer. Selections → Select All. Edit → Copy no colorido1 Edit → Paste Into Selection. Selections → Select None. Blend Mode → Dodge. 18_. Ative a Copy (3) of Raster 2. Edit → Copy na Paisagem DW Edit → Paste As New Layer. Blend Mode → Hard Light — Opacity: 89%. Posicione a gosto. 19_. Ative a Raster 1. Plugin Nik Software → Color Efex Pro 3.0 → Bi-Color Filters → Cool/Warm 2.
Blend Mode: Hard Light — Opacity: 51%. Duplique essa layer. Mantenha o Blend Mode: Hard Light — Opacity para 32%. 20_. Ative a layer superior e duplique. Na layer original, repita o item 19: Plugin Nik Software → Color Efex Pro 3.0 → Bi-Color Filters → Cool/Warm 2. Blend Mode: Luminance (L). Na layer duplicada: Blend Mode: Luminance (L) — Opacity: 30%. 21_. Edit → Copy nos tubes escolhidos Edit → Paste As New Layer. Posicione e redimensione a gosto. Formate e decore seu Top a gosto. Aplique a marca-d'água. Assine e salve. Espero que gostem. Aparecida / LicaCida, em abril de 2013. Rio de Janeiro - Brasil.
Copyright ©2020/2025 - Web Design - Liriani Silva® |