|
Lecture 33 DEDICATÓRIA Com carinho! TRADUÇÕES
MATERIAL
Preset: gallery (Eye Candy 5: Impact → Perspective Shadow) --
Preset: Illumination → Lights → Preset_Lights_Lens_of_love --
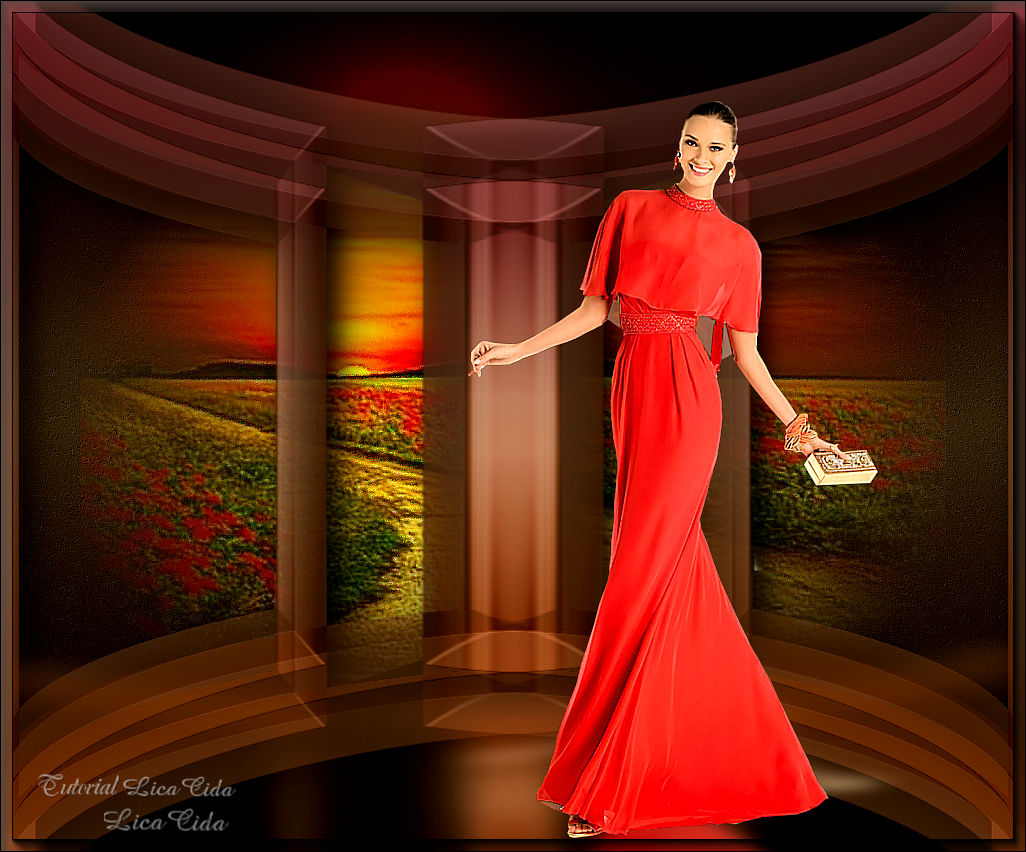
Tubes: NPWcmYiF5BTiYq9r3Q2QnYaTm78@493x800
Marca-d'água.
Versão usada: PSP X8.
PLUGINS
Plugin Andromeda → Perspective
TUTORIAL
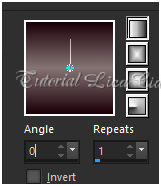
Configure: Foreground: #1c0009 — Background: #857474. 1_. Abra uma nova imagem transparente de 1024 x 800 px. Pinte com o gradiente formado pelas cores acima. Configure: Style: Linear — Angle: 0 — Repeats: 1 — Invert desmarcado.
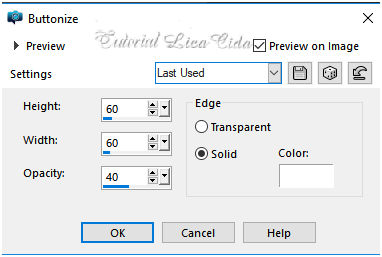
2_. Effects → 3D Effects → Buttonize.
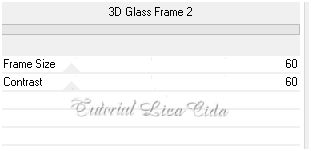
3_. Plugin Unlimited 2.0 → Buttons & Frames → 3D Glass Frame 2.
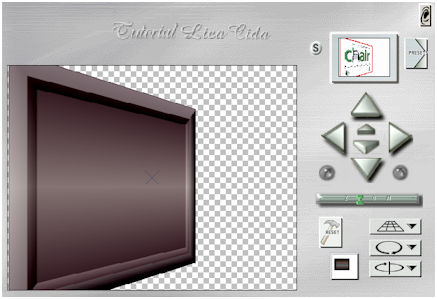
4_. Plugin Andromeda → Perspective.
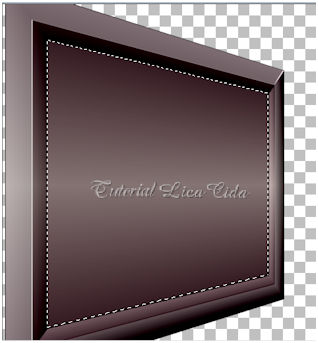
Effects → User Defined Filter → Emboss_3. 5_. Com a ferramenta Magic Wand (Default), selecione a parte lisa do efeito e delete.
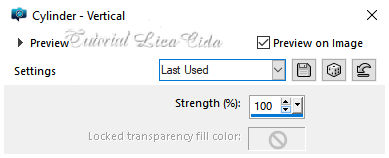
Selections → Select None. 6_. Ative a régua (View → Rulers). Com a ferramenta Pick Tool — Mode: Scale, traga o efeito até 490 px. Layers → Duplicate. Image → Mirror → Mirror Horizontal. Layers → Merge → Merge Down. Desative a régua. 7_. Com a ferramenta Magic Wand (Default), selecione a parte deletada do efeito. Layers → New Raster Layer. Layers → Arrange → Move Down. Selections → Select All. Edit → Copy no tube zHsKlsZv3eT1XQx7Bvxk9oBBzU8@600x451 Edit → Paste Into Selection. Selections → Select None. 8_. Plugin AAA Filters → Custom → Spalter (Default). Opcional: Plugin AAA Filters → Custom → Landscape (Default). 9_. Ative a Raster 1. Plugin Toadies → What Are You?: 20 / 20. 10_. Image → Canvas Size: 1024 x 850 — Bottom: 50. 11_. Layers → New Raster Layer. Layers → Arrange → Send to Bottom. Pinte com o mesmo gradiente formado no item 1, alterando a cor do Background para um tom mais escuro (#756768). 12_. Ative novamente a Raster 1. Effects → Geometric Effects → Cylinder - Vertical.
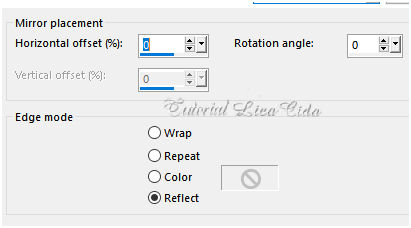
13_. Effects → Reflection Effects → Rotating Mirror.
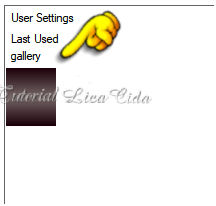
14_. Plugin Graphics Plus → Vertical Mirror — Default (128 / 0). 15_. Plugin Alien Skin Eye Candy 5: Impact → Perspective Shadow — Settings: gallery.
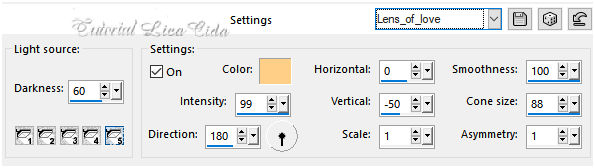
Effects → Edge Effects → Enhance. 16_. Edit → Copy no tube NPWcmYiF5BTiYq9r3Q2QnYaTm78@493x800 Edit → Paste As New Layer. Image → Mirror → Mirror Horizontal. Adjust → Sharpness → Sharpen More. Posicione. Repita o item 15. 17_. Ative a Raster 3. Layers → Duplicate. Plugin Nik Software → Color Efex Pro 3.0 → Bi-Color Filters — Color Set: Brown 1 (Default). Blend Mode: Overlay. 18_. Ative a Raster 1. Layers → Duplicate. Plugin Nik Software → Color Efex Pro 3.0 → Bi-Color Filters — Color Set: Violet/Pink 4 (Default). 19_. Plugin Alien Skin Eye Candy 5: Impact → Perspective Shadow — Settings: Drop Shadow, Blurry. 20_. Ative a Copy of Raster 3. Effects → Illumination Effects → Lights → Preset_Lights_Lens_of_love.
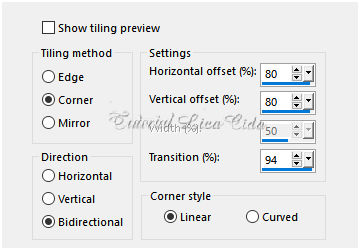
21_. Effects → Image Effects → Seamless Tiling.
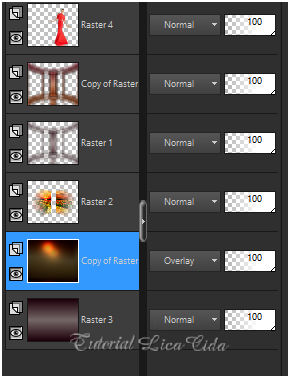
LAYERS Altere os Blend Modes e a Opacity das layers.
Ainda na layer Copy of Raster 3: Adjust → Add/Remove Noise → JPEG Artifact Removal: Maximum — Crispness: 79. Plugin FM Tile Tools → Blend Emboss. Image → Add Borders: 1 px, Symmetric marcado — Color: #1c0009 (Foreground). 22_. Plugin AAA Frames → Foto Frame — Width: 12 (demais valores Default). Opcional: Plugin AAA Filters → Custom → Landscape (Default). Aplique a marca-d'água. Assine e salve. Espero que gostem.
Aparecida / LicaCida, julho de 2019.
Copyright ©2026 - Web Design - Naise Minas |