|
Olívia TRADUÇÕES
MATERIAL
Tubes: AAAbibichefashionet1203 (tube usado no item 2)
Mask: !!!!.mask.ket-fadesuave Back: back7-rb
Marca-d'água.
Versão usada: PSP X5.
PLUGINS
Plugin MuRa's Meister → Copies
TUTORIAL
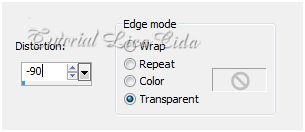
1_. Abra uma nova imagem transparente de 1024 x 600 px. 2_. Selections → Select All. Edit → Copy no tube AAAbibichefashionet1203 Edit → Paste Into Selection. Selections → Select None. 3_. Effects → Image Effects → Seamless Tiling — Default. 4_. Effects → Geometric Effects → Perspective - Horizontal.
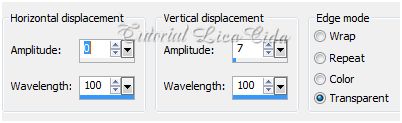
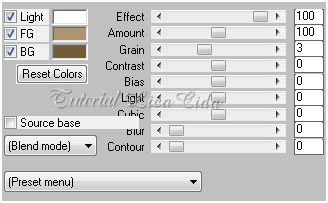
5_. Repita o item 4, usando Distortion: 90 (positivo). 6_. Effects → Distortion Effects → Wave.
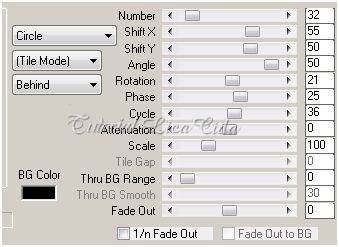
7_. Repita o item 6, com os mesmos valores. 8_. Image → Canvas Size: 1024 x 750 — Bottom: 150. 9_. Plugin MuRa's Meister → Copies: Cards.
10_. Adjust → Sharpness → Sharpen More. 11_. Layers → New Raster Layer. Layers → Arrange → Send to Bottom. Plugin MuRa's Meister → Cloud — Cores: #ffffff / #ab9572 / #735d39.
12_. Plugin Unlimited 2.0 → Paper Textures → Filter Paper: 90 / 74. 13_. Repita o item 10 (Adjust → Sharpness → Sharpen More). 14_. Layers → New Mask Layer → From Image: !!!!.mask.ket-fadesuave. Layers → Merge → Merge Group. 15_. Image → Canvas Size: 1024 x 850 — Bottom: 100. 16_. Layers → New Raster Layer. Layers → Arrange → Send to Bottom. Selections → Select All. Edit → Copy no back7-rb Edit → Paste Into Selection. Selections → Select None. 17_. Repita o item 14 (mask !!!!.mask.ket-fadesuave). 18_. Layers → New Raster Layer. Layers → Arrange → Send to Bottom. Pinte com uma cor que combine (usei a cor #43363d).
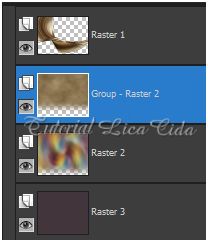
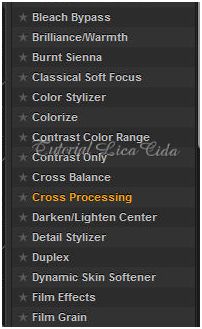
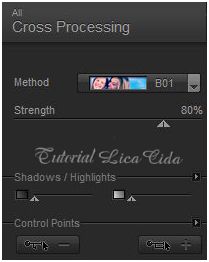
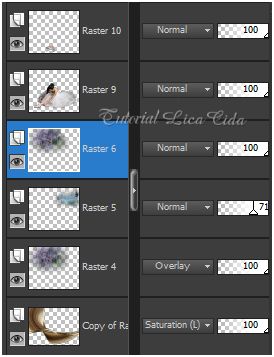
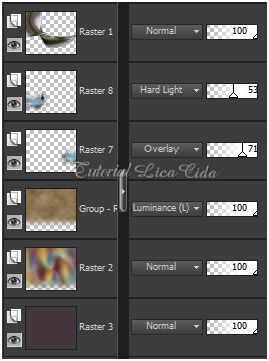
Altere os Blend Modes e a Opacity das layers para trabalhar a profundidade do top. 19_. Duplique a Raster 1. Na layer original (Raster 1): Plugin Nik Software → Color Efex Pro 3.0 → Cross Processing — Method: B01 — 80%.
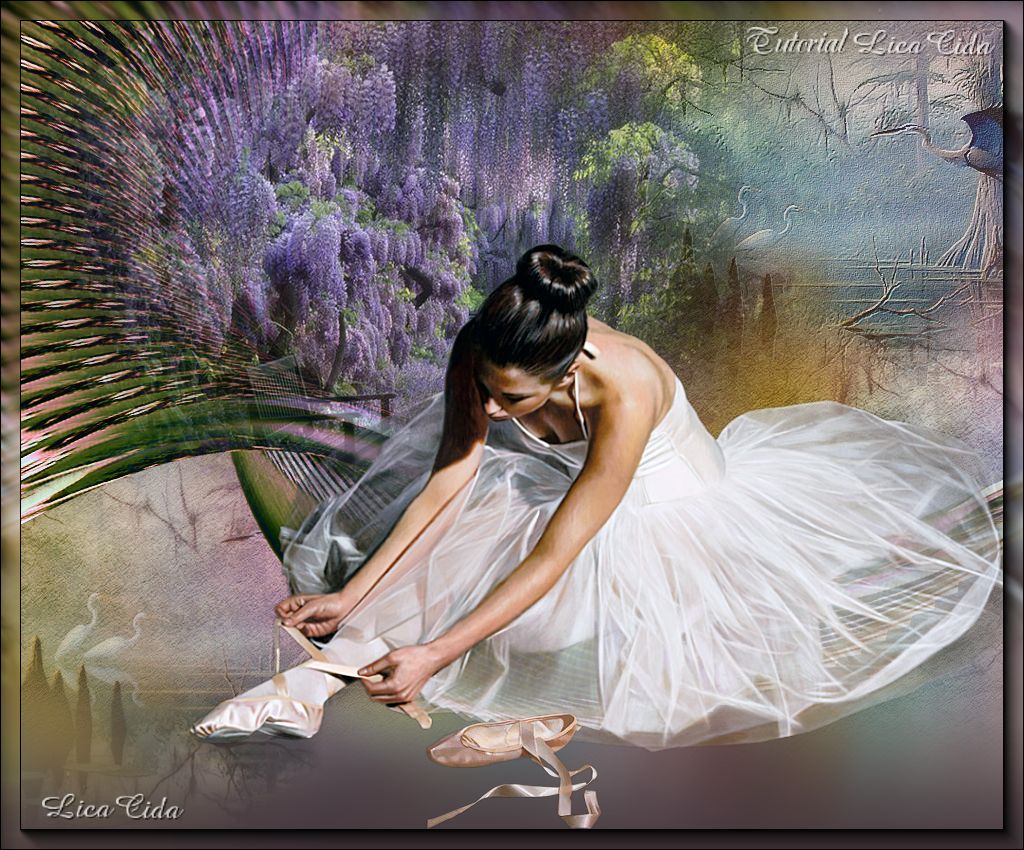
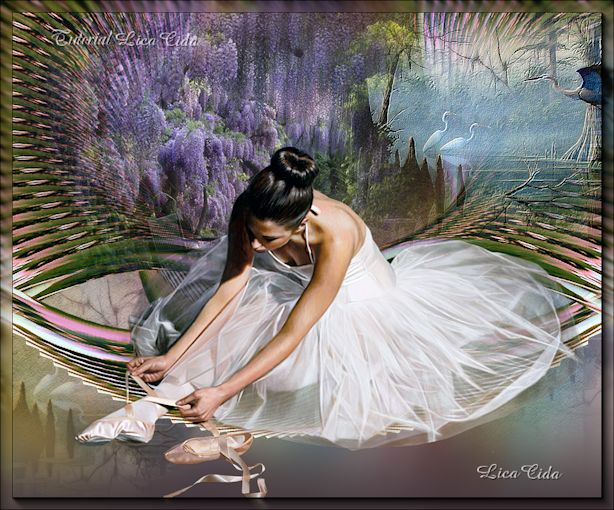
20_. Ative a layer superior (Copy of Raster 1). Edit → Copy nos tubes escolhidos Edit → Paste As New Layer. Posicione. Observem que usei paisagens até a Raster 6. Ativei a Group-Raster 2 e criei as Raster 7 e 8 para preencher com paisagens, abaixo do efeito principal. Usei a Raster 6 para o tube principal. LAYERS
Aplique a marca-d'água. Assine e salve. Espero que gostem.
Aparecida / LicaCida, agosto de 2013.
OUTRO MODELO O mesmo tutorial, com o efeito principal duplicado e espelhado (Mirror).
Copyright ©2026 - Web Design - Naise Minas |