|
Rachel TRADUÇÕES
MATERIAL
Tubes: Callitubes-4411mulheres
Back: backfinal-bylc
Linhas: linhasbylc
Título: titulobylc Decor: Callitubes-162decor
Marca-d'água.
PLUGINS
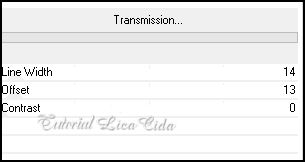
Plugin VM Extravaganza → Transmission
TUTORIAL
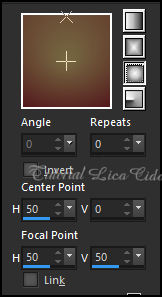
1_. Abra o material no PSP, duplique e feche o original. Escolha duas cores para trabalhar: Foreground: #766942 — Background: #52181c. 2_. Abra uma nova imagem transparente de 950 x 650 px. 3_. Pinte com o gradiente formado pelas cores acima. Configure: Style: Sunburst.
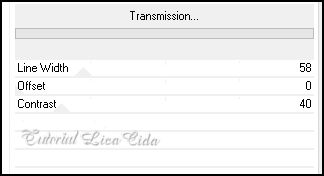
4_. Plugin VM Extravaganza → Transmission.
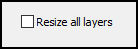
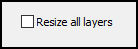
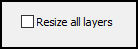
Layers → Duplicate. Image → Resize: 80% — Resize all layers desmarcado.
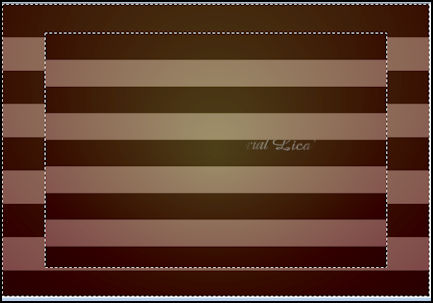
5_. Com a ferramenta Magic Wand (Default), selecione a parte externa.
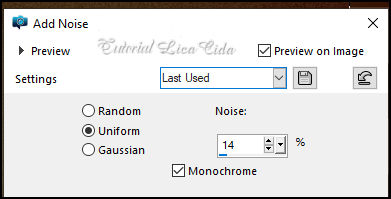
Selections → Invert. 6_. Adjust → Blur → Gaussian Blur — Radius: 46,00. 7_. Adjust → Add/Remove Noise → Add Noise.
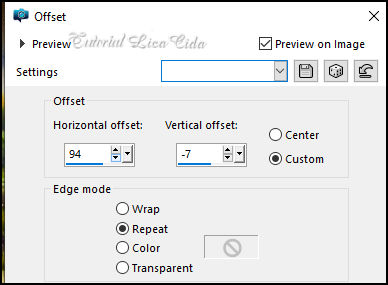
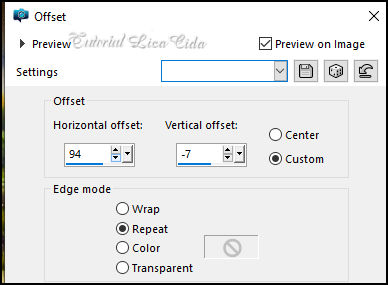
8_. Edit → Copy no Callitubes-824flores Edit → Paste Into Selection. Selections → Select None. Adjust → Sharpness → Sharpen. 9_. Effects → Image Effects → Offset.
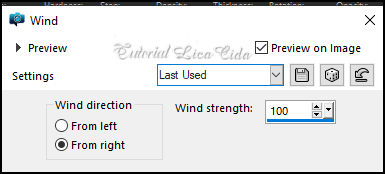
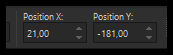
Layers → Duplicate. 10_. Ative a layer original (Copy of Raster 1). Effects → Distortion Effects → Wind.
11_. Plugin VM Extravaganza → Transmission.
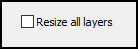
Effects → Edge Effects → Enhance More. 12_. Ative a layer do topo (Copy (2) of Raster 1). Image → Resize: 80% — Resize all layers desmarcado.
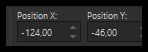
13_. Effects → Image Effects → Offset (repita com os mesmos valores).
14_. Edit → Copy nas linhasbylc Edit → Paste As New Layer. Layers → Duplicate. 15_. Image → Resize: 110% — Resize all layers desmarcado.
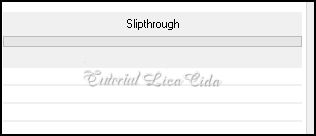
Layers → Merge → Merge Down. 16_. Volte para a Copy (2) of Raster 1. Plugin VM Toolbox → Slipthrough.
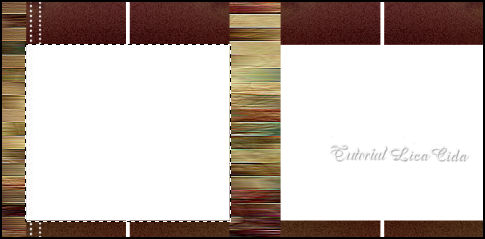
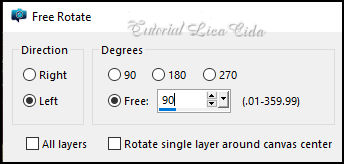
17_. Effects → Reflection Effects → Rotating Mirror: 0 / 180 — Reflect. Layers → Duplicate. Objects → Align → Right. Layers → Merge → Merge Down. 18_. Com a ferramenta Selection Tool (tecla S), selecione o gráfico branco da esquerda.
Selections → Promote Selection to Layer. 19_. Edit → Copy no Callitubes-824flores Edit → Paste As New Layer. Image → Resize: 80% — Resize all layers desmarcado.
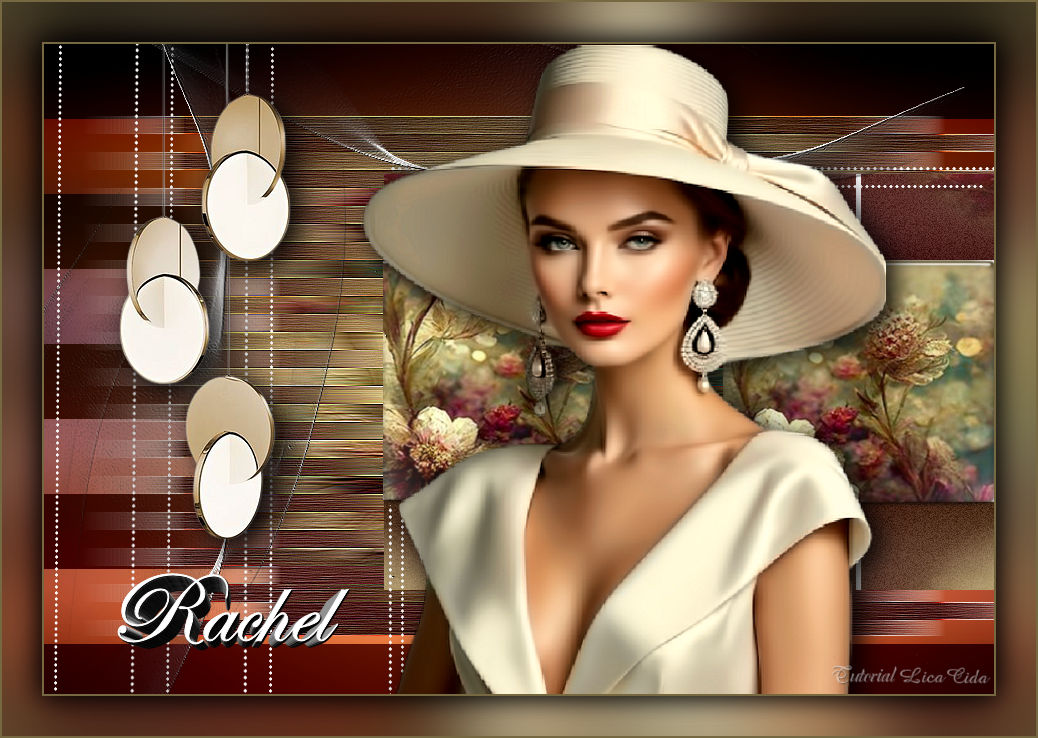
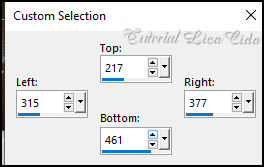
Veja a melhor posição para as suas flores. Selections → Invert. Pressione a tecla Delete. Selections → Invert. Adjust → Sharpness → Sharpen. Selections → Select None. 20_. Plugin Alien Skin Eye Candy 5: Impact → Glass — Clear (ou como preferir). Layers → Merge → Merge Down. Layers → Duplicate e posicione no segundo quadro. Layers → Merge → Merge Down. Aplique duas vezes. 21_. Ative a Raster 2 (layer do topo). Ative a ferramenta Selection Tool (tecla S) → Custom Selection.
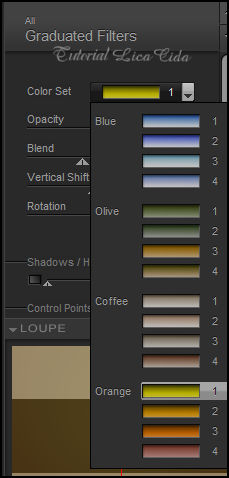
Pressione a tecla Delete. Selections → Select None. 22_. Ative a Raster 1. Plugin Nik Software → Color Efex Pro 3.0 → Graduated Filters — Color Set: Orange 1 — Default.
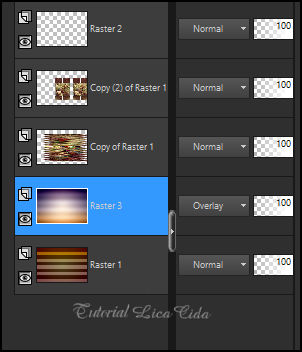
23_. Edit → Copy no backfinal-bylc Edit → Paste As New Layer. Blend Mode: Overlay — Opacity: 100%. LAYERS Confira as layers:
24_. Ative a layer do topo. Edit → Copy no MASK-MD-089 Edit → Paste As New Layer. Use na parte superior do back.
Duplique e use do lado esquerdo.
25_. Edit → Copy no Callitubes-162decor Edit → Paste As New Layer. Use como no modelo. 26_. Edit → Copy no tube Callitubes-4411mulheres Edit → Paste As New Layer. Use a gosto. 27_. Edit → Copy no titulobylc Edit → Paste As New Layer. Use a gosto. BORDAS 28_. Image → Add Borders: 2 px, Symmetric marcado — cor clara. Selections → Select All. Edit → Copy. Image → Add Borders: 40 px, Symmetric marcado — Color: #ffffff. Selections → Invert. Edit → Paste Into Selection. Adjust → Blur → Gaussian Blur — Radius: 46,00. Selections → Invert. Effects → 3D Effects → Drop Shadow: 0 / 0 / 80 / 40,00 — Color: #000000. Repita o Drop Shadow. Selections → Select None. Image → Add Borders: 2 px, Symmetric marcado — cor clara. Aplique a marca-d'água. Assine e salve. File → Export → JPEG Optimizer.
Aparecida / LicaCida, julho de 2024.
Copyright ©2026 - Web Design - Naise Minas |