|
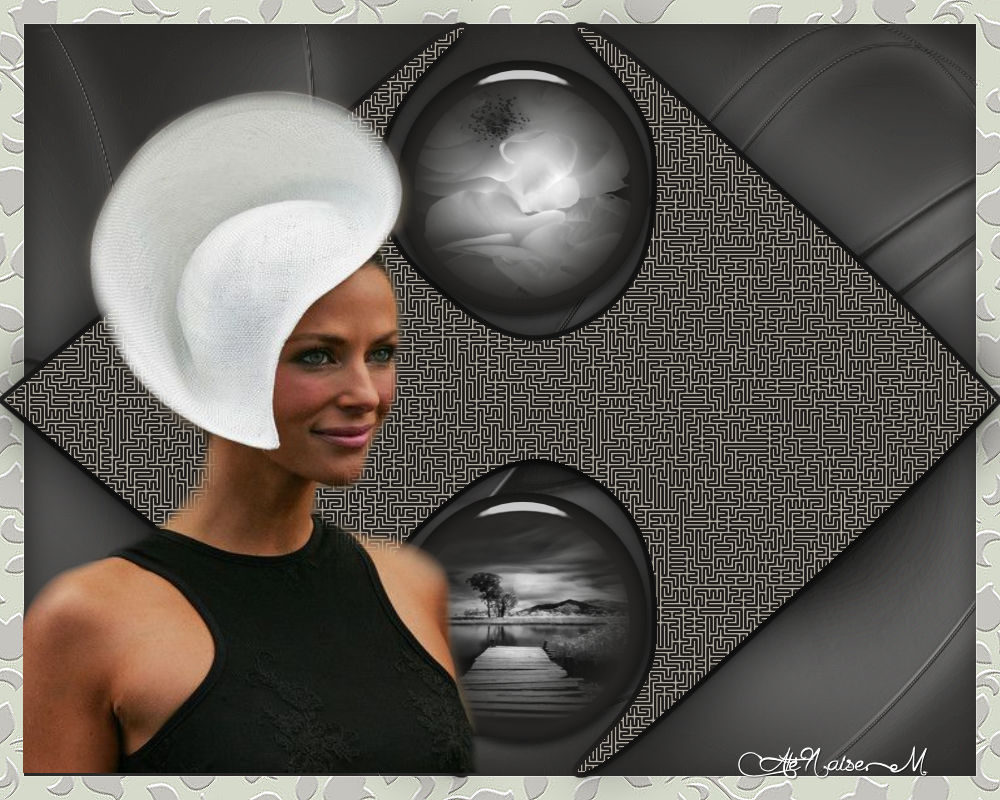
Always
challenge!
PSP X18 used, but it can be done in any other version
Material

PSP tools
Mask of my own creation
Selection of my own creation
Tubes of my own creation
Preset: save it in the plugin's presets folder
NaiseM watermark (download)
Plug-ins
AV Bros Puzzle Pro 2.0 (download)
 |
Use the arrow to mark your line
Click with the mouse to move it
|
1_. Open a new transparent image of 1000 x 800 px.
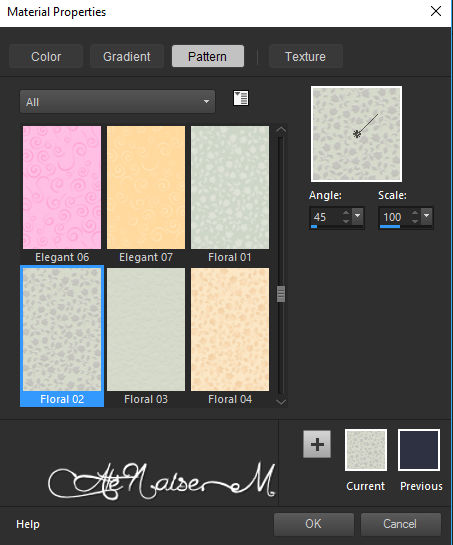
2_. Fill with a Pattern of your choice or with the one attached; then just apply Adjust → Hue and Saturation → Colorize to taste.
3_. Effects → Edge Effects → Enhance More.
4_. Selections → Select All.
Selections → Modify → Select Selection Borders.
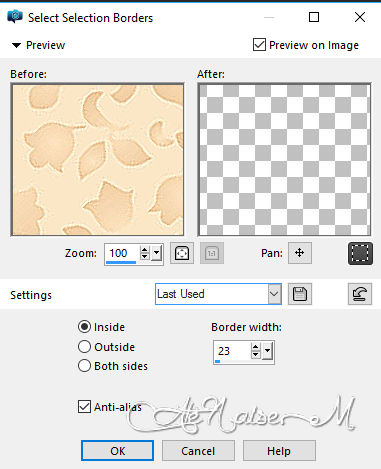
5_. Selections → Invert and press the Delete key.
6_. Selections → Promote Selection To Layer.
Selections → Select None.
7_. With the Magic Wand tool, select this square and fill it with a solid color.
8_. Layers → Duplicate.
9_. Turn off the visibility of the layer Promoted Selection.
10_. On the layer Copy of Promoted Selection: Layers → Load/Save Mask → Load Mask From Disk: mask-nm-Always_challenge.
Layers → Merge → Merge Group.
11_. Effects → Edge Effects → Enhance.
Effects → User Defined Filter → Emboss 3.
Effects → 3D Effects → Drop Shadow: 0 / 0 / 100 / 100 - color #ffffff (white).
12_. Turn the visibility of the layer Promoted Selection back on.
13_. Layers → New Raster Layer.
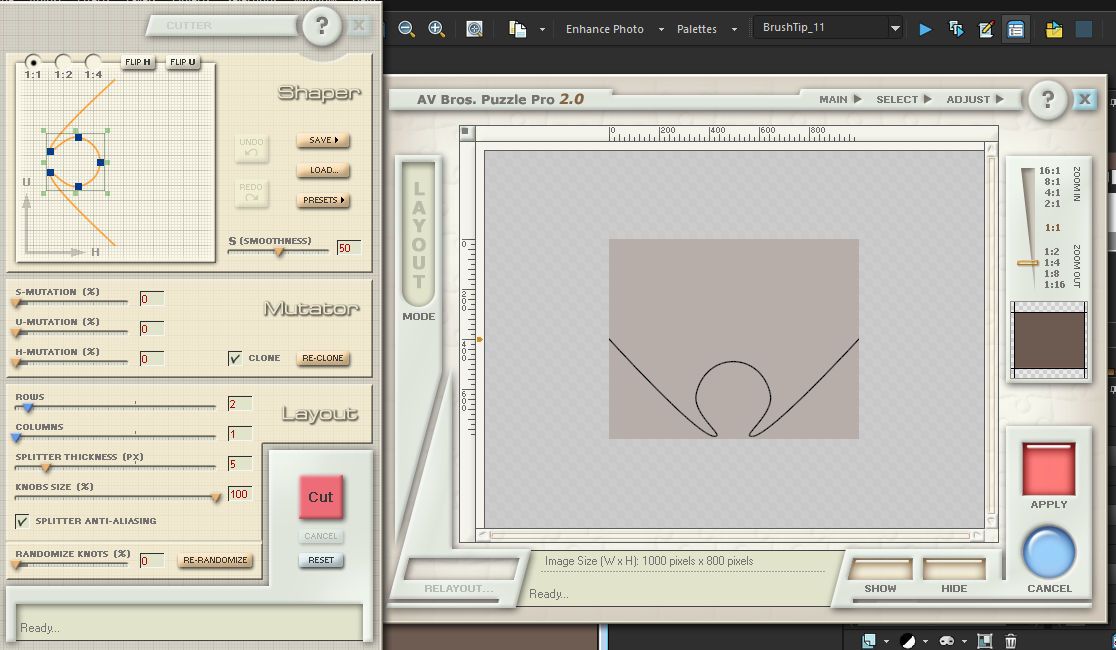
14_. Effects → Plugins → AV Bros. → Puzzle Pro 2.0: preset top_alwayschal.
15_. Effects → Plugins → Alien Skin Eye Candy 5 Impact → Glass, with the settings that open.
16_. Layers → Duplicate.
Image → Mirror → Mirror Vertical.
17_. Layers → Merge → Merge Down.
18_. With the Magic Wand tool, select this part and fill it with the same color.
19_. Effects → Texture Effects → Texture: texturemate-greyscale06.
Note: in Color, pick the same color you applied to this selection.
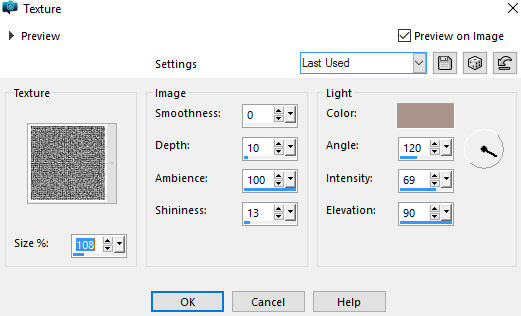
20_. Effects → 3D Effects → Drop Shadow: 0 / 0 / 100 / 100 - color #000000 (black).
Selections → Select None.
21_. Layers → New Raster Layer.
22_. Selections → Load/Save Selection → Load Selection From Disk: #selecao_always_naise.
On the selected parts, fill with the same solid color and apply Effects → Plugins → Alien Skin Eye Candy 5 Impact → Glass again.
Selections → Select None.
23_. Choose two images and, with the Magic Wand tool, click and apply one image in each circle.
Selections → Select None.
24_. Apply your tube.
25_. With the layers open, if you wish, apply Effects → Plugins → Nik Software → Color Efex Pro 3.0.
26_. Sign your work, add the author's watermark and save as JPG.
Credits
Tutorial, art and formatting: NaiseM
All the material used is my own creation
09 / 05 / 2017
|