|
|
|
|
|
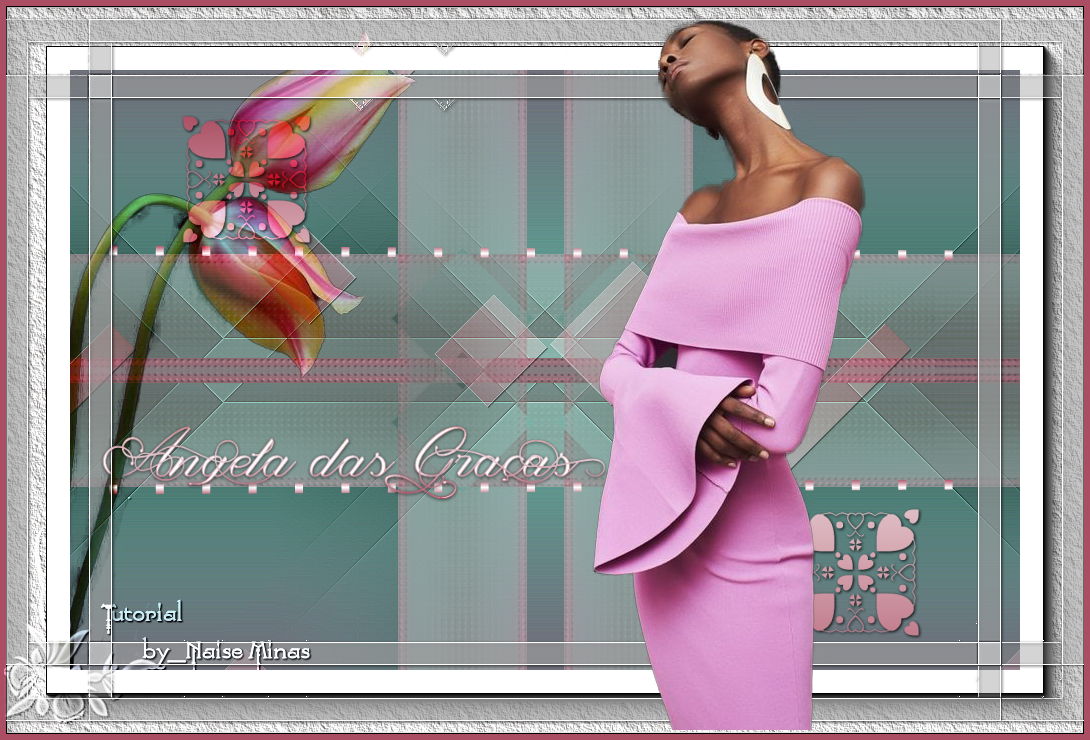
A treat for Angela das Graças
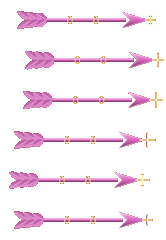
Materials Woman tube Flower tube Preset (save in the folder) Gradient Decos Brush (save in the folder) Name
Plug-ins Toadies / Simple (import into Unlimited 2.0) AAA Frame / Texture
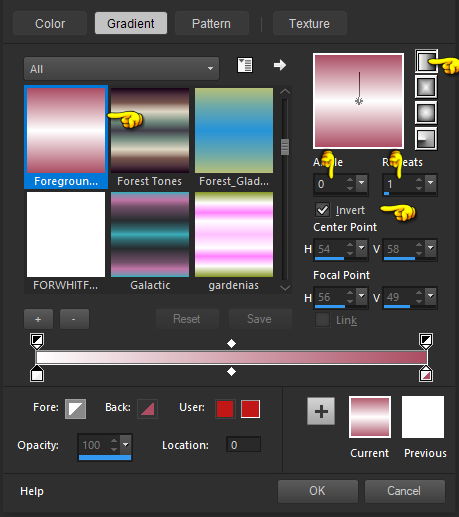
Walkthrough 1_. Open a new transparent image of 950 x 600 px. Create a Linear gradient: foreground #FFFFFF / background #ab4e63 - Angle 0 / Repeats 1 / Invert checked.
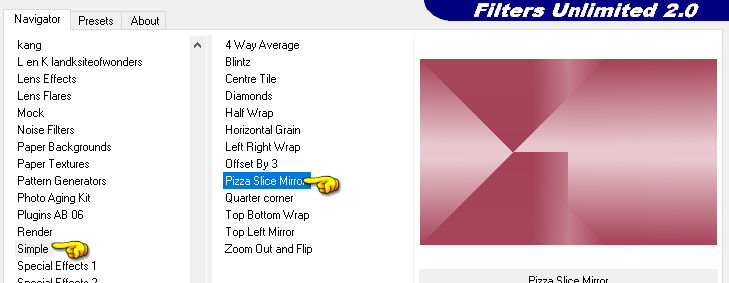
Fill the image with the gradient. Effects → Plugins → Filters Unlimited 2.0 → Simple → Pizza Slice Mirror.
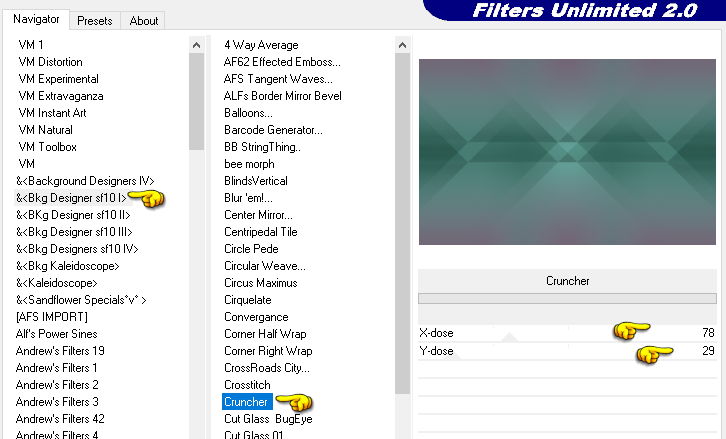
Layers → Duplicate. Image → Mirror → Mirror Horizontal. Layers → Properties → Blend Mode: Exclusion. Layers → Merge → Merge Visible. 2_. Effects → Plugins → Filters Unlimited 2.0 → &<Bkg Designer sf10 I> → Cruncher: X-dose 78 / Y-dose 29.
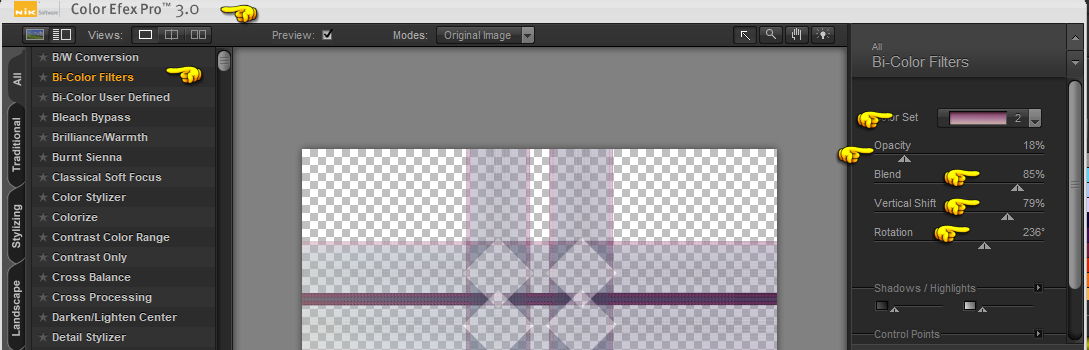
Effects → Edge Effects → Enhance More. 3_. Open deco-1 and, if you wish, apply Effects → Plugins → Nik Software → Color Efex Pro 3.0 → Bi-Color Filters.
Edit → Copy. Edit → Paste As New Layer. 4_. Activate the Pen tool.
Set the line to *Current Styled Line*, with these settings:
Layers → New Raster Layer. Using the same gradient, with the same settings, draw a stroke.
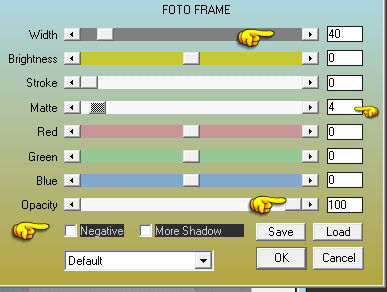
Layers → Duplicate. Image → Mirror → Mirror Vertical. 5_. Open deco-2 and colorize it to your liking. Edit → Copy. Edit → Paste As New Layer. Layers → Properties → Blend Mode: Hard Light. 6_. Image → Add Borders → Symmetric checked: 64 px - color #FFFFFF. Effects → Plugins → AAA Frames → Foto Frame: Width 40 / Matte 4 / Opacity 100.
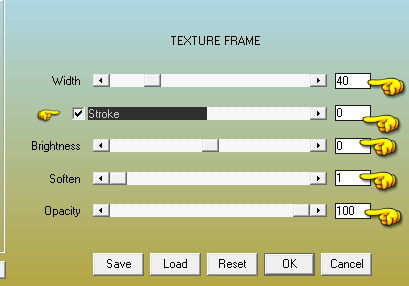
Then, with the selection still active, apply Effects → Plugins → AAA Frames → Texture Frame: Width 40 / Stroke 0 / Brightness 0 / Soften 1 / Opacity 100.
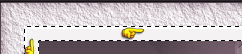
Selections → Select None. 7_. With the Magic Wand tool, select the inner white.
Selections → Promote Selection to Layer. Selections → Select None. Effects → Plugins → Filters Unlimited 2.0 → &<Bkg Designer sf10 I> → Cruncher, with the same settings.
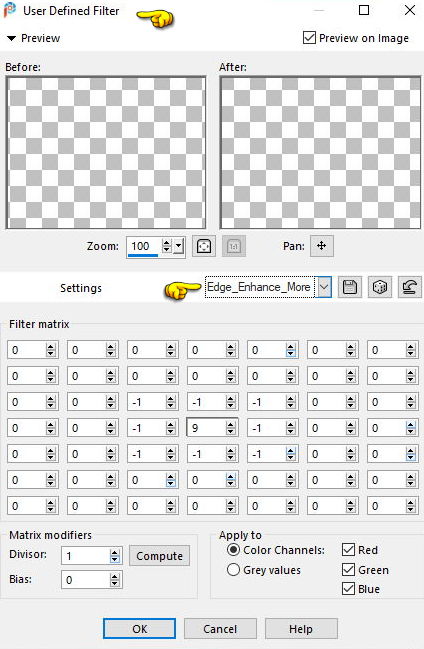
Effects → User Defined Filter → Edge_Enhance_More.
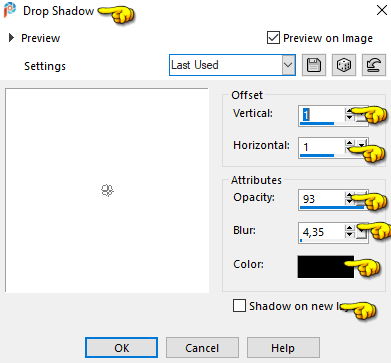
Effects → 3D Effects → Drop Shadow: 1 / 1 / 93 / 4.35 - color #000000.
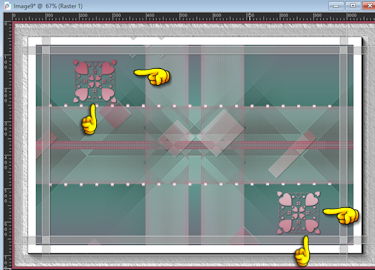
8_. Image → Add Borders → Symmetric checked: 6 px - color #ab4e63. 9_. Layers → New Raster Layer. With the Paint Brush tool, apply the brush with the same gradient.
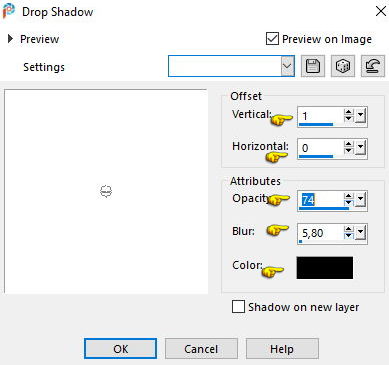
Effects → 3D Effects → Drop Shadow: 1 / 0 / 74 / 5.80 - color #000000.
10_. Apply your main tube. 11_. Apply the name. 12_. Apply your flower tube - Layers → Properties → Blend Mode: Overlay, or to your liking. 13_. Image → Resize: 1000 px. 14_. Sign your work. 15_. Save as JPG.
|