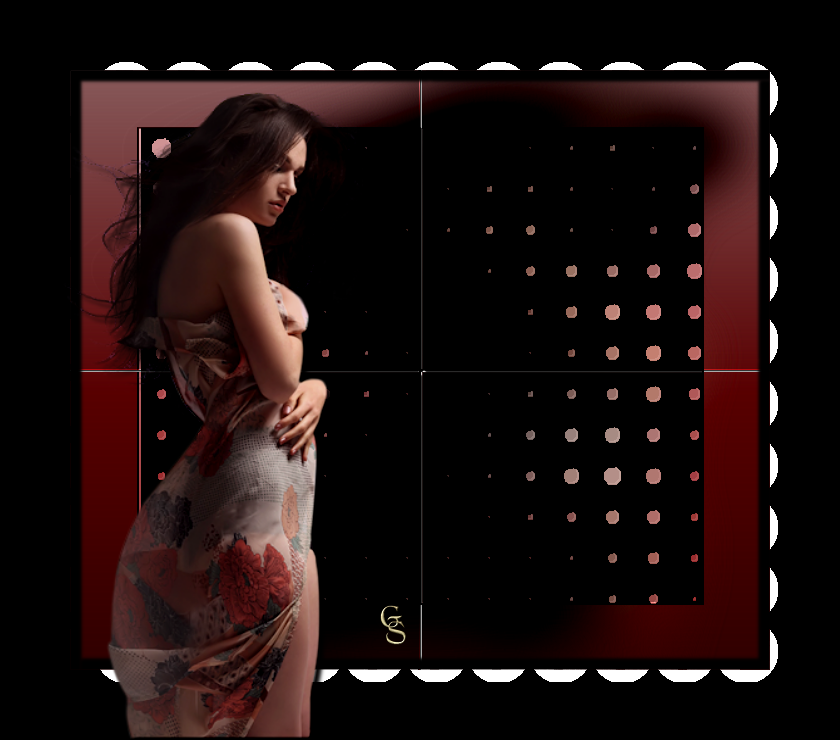
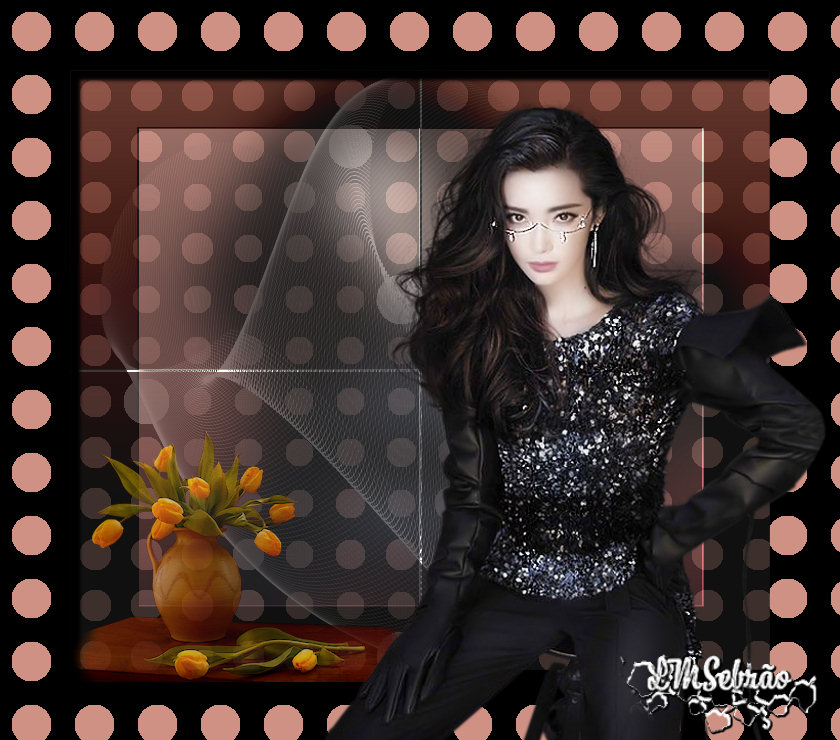
 |
Use the arrow to mark your line
Click with the mouse to move it
|
Walkthrough
1_. Open a new transparent image of 700 x 600 px.
2_. Fill with a Linear gradient: Angle: 0 / Repeats: 0.
3_. Choose a tube: Edit → Copy.
Edit → Paste Into Selection.
4_. Adjust → Blur → Gaussian Blur: Radius 30.
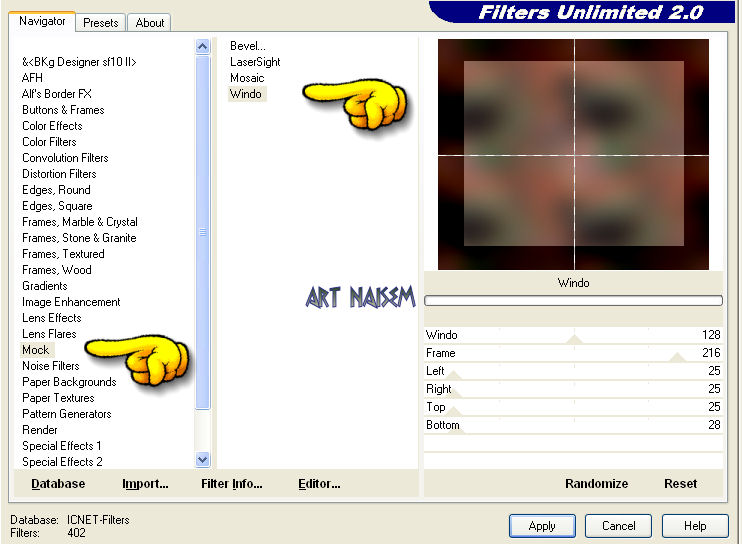
5_. Effects → Plugins → Filters Unlimited 2.0 → Mock → Windo, with the settings shown in the print.
6_. Effects → User Defined Filter → Emboss 3.
7_. Layers → Properties → Opacity: 60% (or as much as you wish).
Layers → Arrange → Send to Bottom.
8_. Layers → New Raster Layer.
Fill with a solid color of your choice.
9_. Effects → Plugins → Dragonfly → Sinedots II, with the preset beauty_sinedots (save the preset inside the Sinedots II folder).
Effects → 3D Effects → Drop Shadow: 2 / 2 / 100 / 3.
10_. Effects → Plugins → VM Extravaganza → Vasarely.
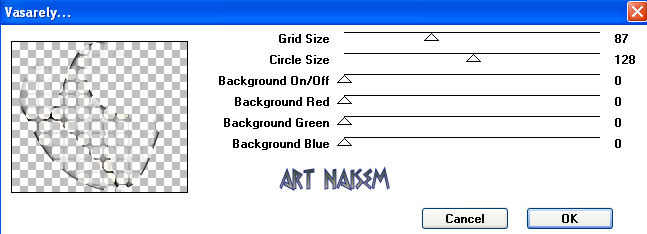
11_. Image → Add Borders → Symmetric checked: 70 px.
12_. With the Magic Wand tool, select the border and apply the same plugin VM Extravaganza → Vasarely, with the same settings.
13_. Effects → 3D Effects → Drop Shadow: 10 / 10 / 100 / 5, positive and negative.
14_. Apply your tubes and brushes as you like.
15_. Sign your work.
16_. Save as JPG.