Mara Pontes
MATERIAL
Ferramentas do PSP (texturas Brick wall e Grid)
PLUGINS Simple → Zoom Out and Flip
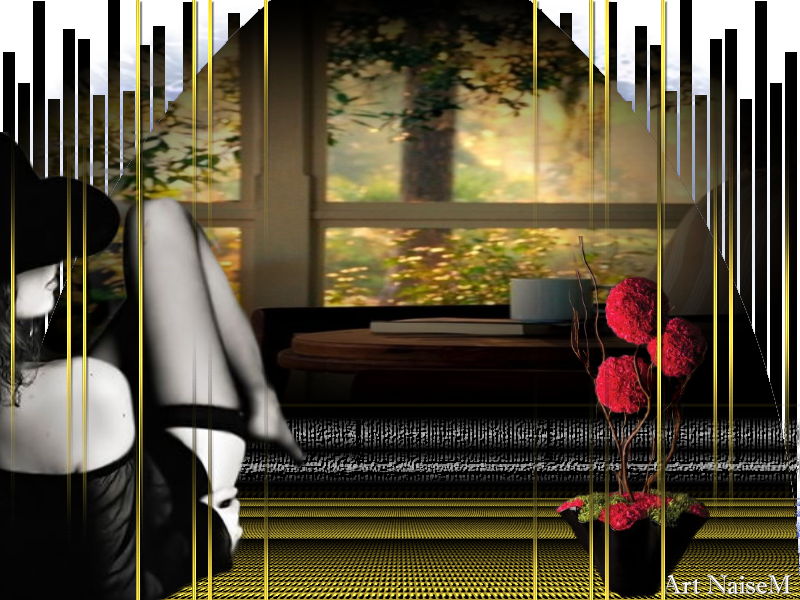
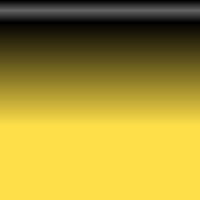
Roteiro 1_. Abra uma nova imagem transparente de 800 x 600 px. Selections → Select All. 2_. Abra esta imagem: Edit → Copy.
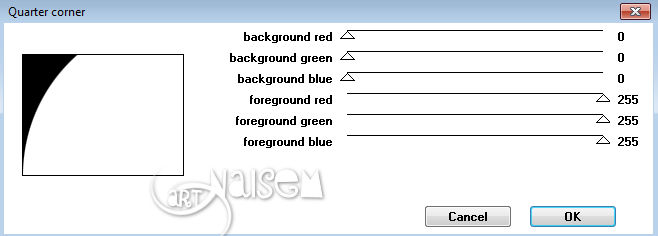
No seu trabalho: Edit → Paste Into Selection. Image → Mirror → Mirror Vertical. 3_. Effects → Plugins → Simple → Zoom Out and Flip. 4_. Layers → Duplicate. 5_. Na layer copy, aplique novamente: Effects → Plugins → Simple → Quarter Corner.
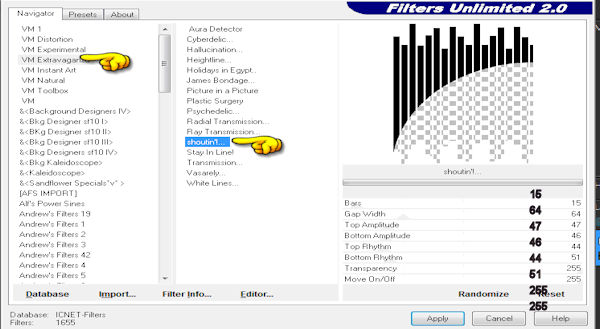
6_. Com a ferramenta Magic Wand, selecione a parte branca e delete. 7_. Selections → Invert. 8_. Effects → Plugins → Filters Unlimited 2.0 → VM Extravaganza → Shoutin'! e delete as partes brancas.
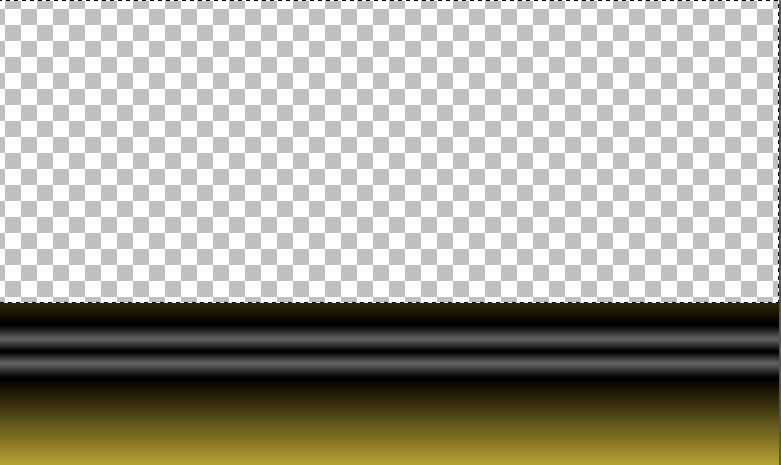
Selections → Select None. 9_. Layers → Duplicate. Image → Mirror → Mirror Horizontal. Layers → Merge → Merge Down. Layers → Properties → Blend Mode: Difference. Effects → 3D Effects → Drop Shadow: 1 / 1 / 100 / 5. 10_. Volte para a layer Raster 1. Layers → Duplicate e, na copy, delete a parte de cima, como mostra o print abaixo.
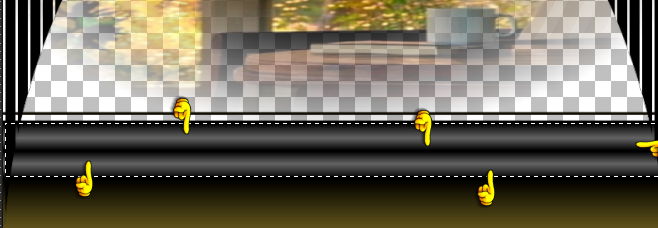
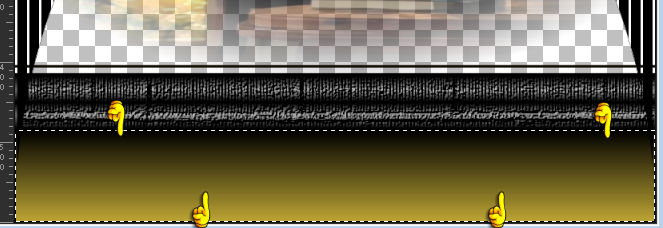
11_. Escolha uma imagem: Edit → Copy. Edit → Paste Into Selection. 12_. Com a ferramenta Selection, selecione esta parte do print abaixo.
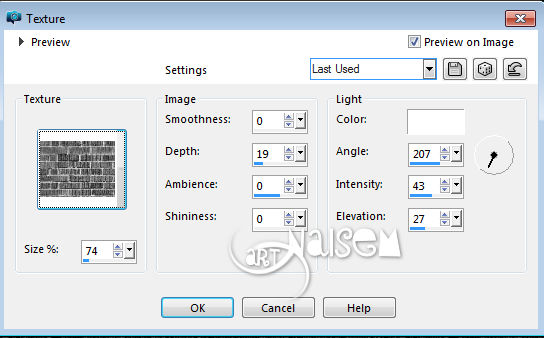
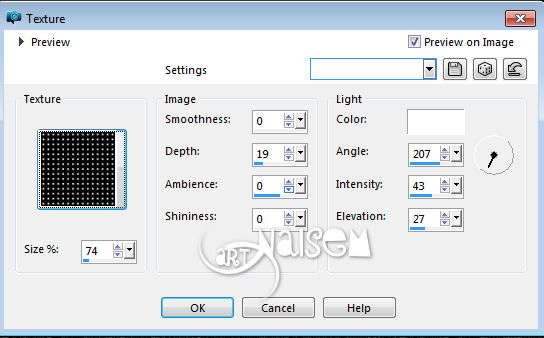
Selections → Promote Selection to Layer. Effects → Texture Effects → Texture: Brick wall.
13_. Com a ferramenta Selection, selecione esta parte do print abaixo.
Effects → Texture Effects → Texture: Grid.
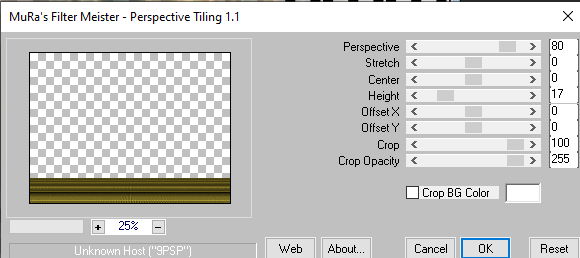
Selections → Promote Selection to Layer. Selections → Select None. 14_. Effects → Plugins → Mura's Meister → Perspective Tiling.
15_. Layers → Merge → Merge Visible. 16_. Layers → New Raster Layer e pinte com a cor #000000. Layers → Arrange → Move Down. 17_. Aplique o seu tube. 18_. No decor_marapontes: Edit → Copy. Edit → Paste As New Layer. Effects → 3D Effects → Drop Shadow: 1 / 1 / 80 / 4, positivo e negativo. 19_. Effects → User Defined Filter → Emboss 3. 20_. Image → Add Borders → Symmetric marcado: 3 px - cor #000000. 21_. Assine e salve em JPG.
Créditos: Tutorial criado por Naise Minas - NM Criações Copyright ©2012/2026 - Web Design - Naise Minas |