|
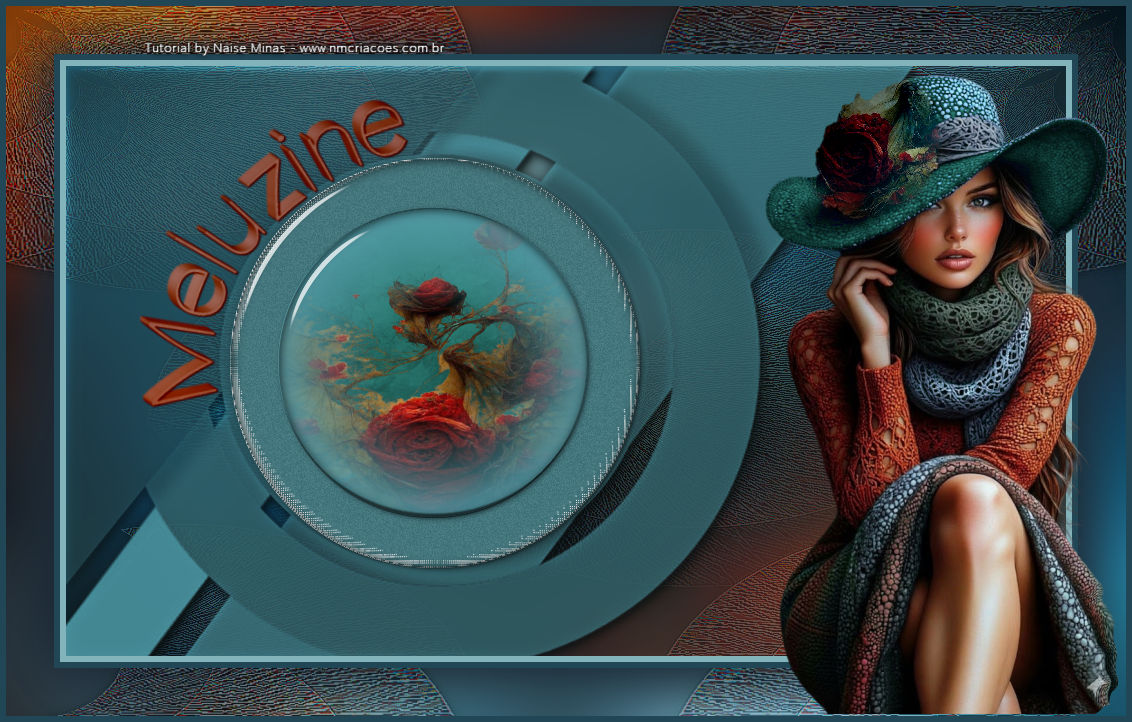
Meluzine Um mimo para Meluzine
MATERIAL
Alpha Channel: alphachanell_meluzine
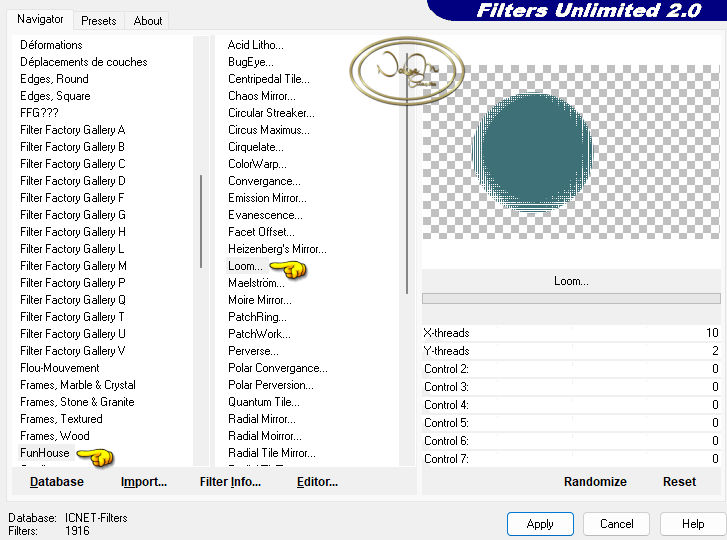
PLUGINS Filters Unlimited 2.0 → FunHouse → Loom
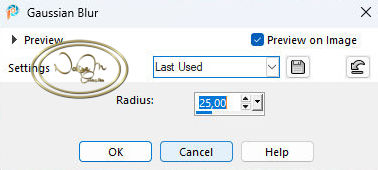
Roteiro 1_. Abra o alphachanell_meluzine (Alpha Channel). Selections → Select All. 2_. Abra a imagem: Edit → Copy. Edit → Paste Into Selection no trabalho. 3_. Adjust → Blur → Gaussian Blur: Radius 25.
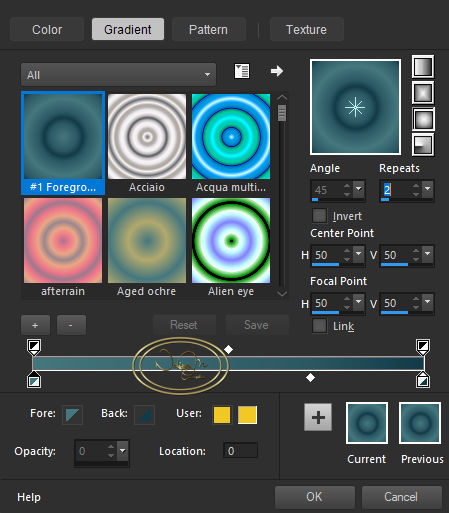
Selections → Select None. 4_. Forme um gradiente Sunburst: Angle 0 / Repeats 2. Foreground #396a71 Background #19434f
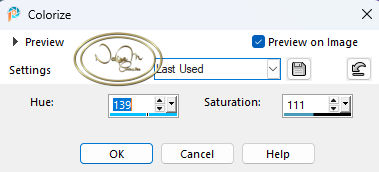
5_. Layers → New Raster Layer. Pinte com este gradiente. Layers → Properties → Blend Mode: Multiply. Selections → Select None. 6_. Abra o deco1_meluzine: Edit → Copy. Edit → Paste As New Layer. Layers → Properties → Blend Mode: Soft Light (ou outro, se a sua imagem for clarinha). 7_. Ative a layer Raster 1 e mude o Blend Mode para Soft Light também. 8_. Ative a layer Raster 2. Abra o deco2_meluzine: Edit → Copy. Edit → Paste As New Layer. Dê um Colorize a gosto.
9_. Selections → Load/Save Selection → Load Selection From Alpha Channel: alphachannel_meluzine1. Layers → New Raster Layer. Pinte com a cor sólida #4c919a. 10_. Abra o misted_meluzine: Edit → Copy. Edit → Paste Into Selection no seu trabalho. Effects → Plugins → Alien Skin Eye Candy 5: Impact → Glass: aplique o preset_meluzine. Selections → Select None. 11_. Ative a layer Raster 3 (deco2). Selections → Load/Save Selection → Load Selection From Alpha Channel: alphachannel_meluzine2. Layers → New Raster Layer. Pinte com a cor sólida #3e7077. 12_. Effects → Plugins → Filters Unlimited 2.0 → FunHouse → Loom: Default. Obs.: coloque a cor #ffffff no Background.
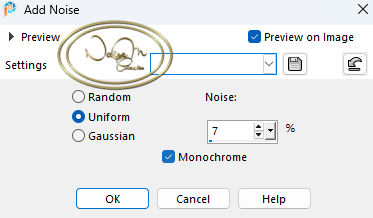
13_. Ainda selecionado: Adjust → Add/Remove Noise → Add Noise, como nas configurações abaixo.
14_. Aplique novamente o preset_meluzine. Selections → Select None. 15_. Image → Add Borders → Symmetric marcado: 6 px - cor #83b3bb 6 px - cor #214655 16_. Selections → Select All. 17_. Image → Add Borders → Symmetric marcado: 48 px - qualquer cor. Selections → Invert. 18_. Na sua imagem: Edit → Copy novamente. Edit → Paste Into Selection. Adjust → Blur → Gaussian Blur: Radius 25. 19_. Ainda selecionado: Image → Mirror → Mirror Vertical. Image → Mirror → Mirror Horizontal. 20_. Layers → New Raster Layer. 21_. No deco1_meluzine: Edit → Copy. Edit → Paste Into Selection no trabalho. Layers → Properties → Blend Mode: Soft Light. 22_. Selections → Invert. Effects → 3D Effects → Drop Shadow: 0 / 0 / 100 / 100 - cor #1b2633. Edit → Repeat Drop Shadow. Selections → Select None. 23_. Image → Add Borders → Symmetric marcado: 6 px - cor #214655. 24_. Abra o tube_meluzine: Edit → Copy. Edit → Paste As New Layer. Para quem for usar o meu tube: com a ferramenta Pick Tool, posicione em X: 764 / Y: 73. 25_. Abra o titulo: Edit → Copy. Edit → Paste As New Layer. Com a ferramenta Pick Tool, posicione em X: 134 / Y: 90. Dê um Colorize a gosto. 26_. Assine. 27_. Exporte em JPG.
Créditos: Tutorial criado por Naise Minas - NM Criações Copyright ©2012/2026 - Web Design - Naise Minas |