|
|
|
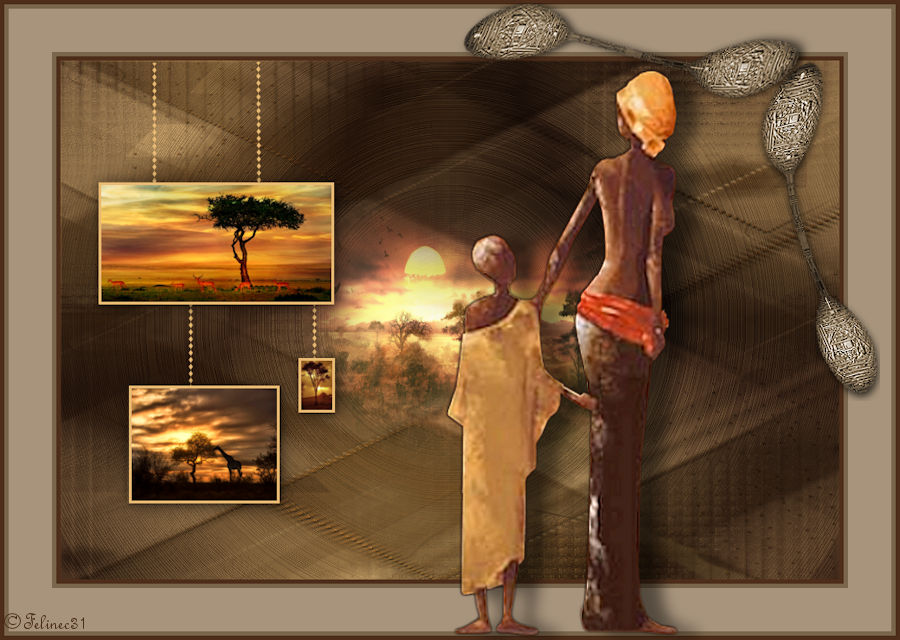
Africa Irmã
Corel PSP X18 Materials used
PSP tools Tubes of my own creation Misted of my own creation Deco of my own creation Masks_Narah Pamplona Plug-ins Merhi dsb_flux
Walkthrough 1_. Open a new transparent image of 900 x 600 px and fill it with a Sunburst gradient, with the settings below.
3_. Effects → Image Effects → Seamless Tiling: preset SMoura1, with the settings below.
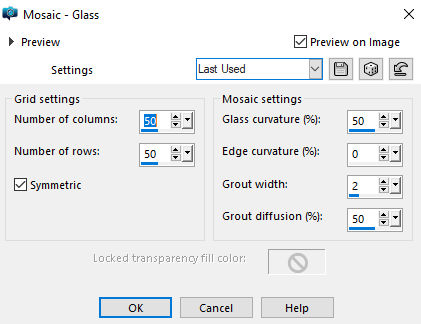
4_. Effects → Texture Effects → Mosaic - Antique: Grid settings 32 / 94 and Mosaic settings 70 / 1 / 50. Then, Effects → Texture Effects → Mosaic - Glass: Grid settings 50 / 50 and Mosaic settings 50 / 0 / 2 / 50.
5_. Layers → New Raster Layer. Fill with a light solid color. 6_. Layers → Load/Save Mask → Load Mask From Disk: Narah_mask_0884. Layers → Merge → Merge Group. Effects → 3D Effects → Drop Shadow: 1 / 1 / 100 / 1. Effects → Edge Effects → Enhance. 7_. Layers → New Raster Layer. 8_. Selections → Load/Save Selection → Load Selection From Disk: #seleção_africa. Fill with a solid color. 9_. Effects → Texture Effects → Texture: texturemate-greyscale06, with the settings below.
Selections → Select None. 10_. Effects → Plugins → DSB Flux → Linear Transmission, with the settings below.
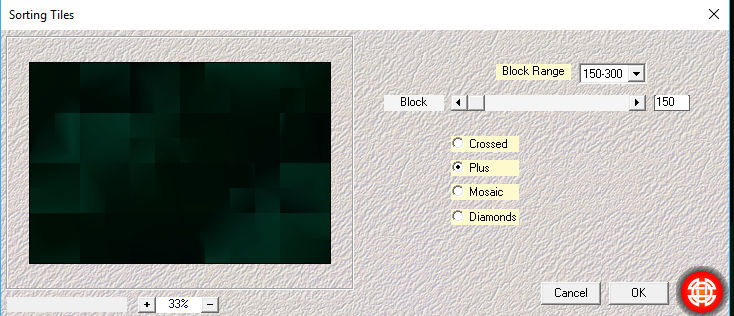
Effects → Edge Effects → Enhance. Lower the layer opacity to 29%. 11_. Layers → New Raster Layer. Fill with the same gradient, with the same settings. 12_. Effects → Plugins → Filters Unlimited 2.0 → &<Bkg Designer sf10 I> → Circus Maximus, with the settings below.
Effects → Edge Effects → Enhance More. 13_. Layers → Load/Save Mask → Load Mask From Disk: Narah_Mask_1138. Layers → Merge → Merge Group. Effects → 3D Effects → Drop Shadow: 1 / 1 / 100 / 2 - white or a color from the gradient. Effects → Edge Effects → Enhance. 14_. Layers → New Raster Layer. Selections → Load/Save Selection → Load Selection From Disk: #seleção_africa_2. 15_. Apply a misted of your choice, with the opacity also to taste. Selections → Select None. 16_. Layers → New Raster Layer. With the Pen tool set as shown in the print and a dark color in the Foreground:
draw the lines as shown in the print.
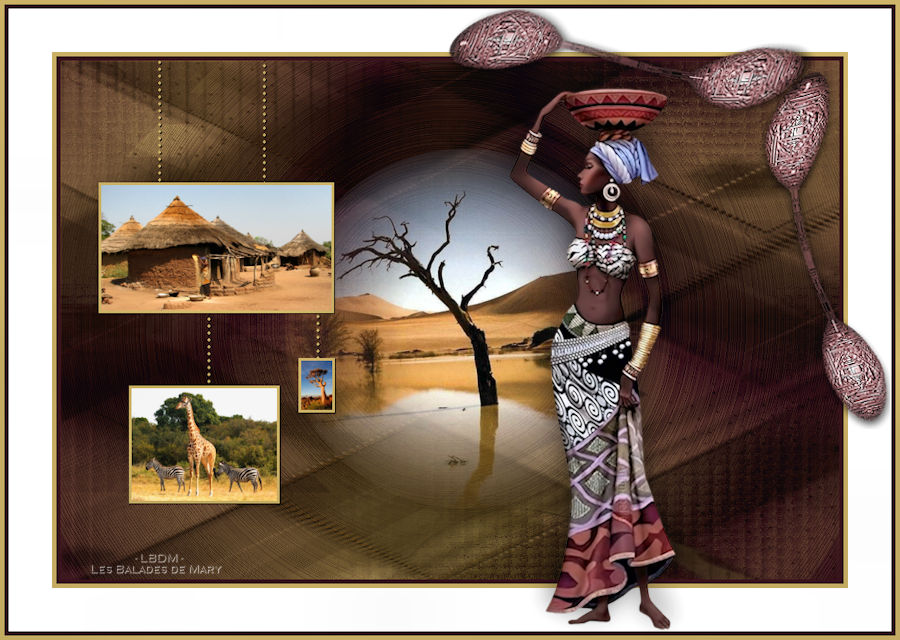
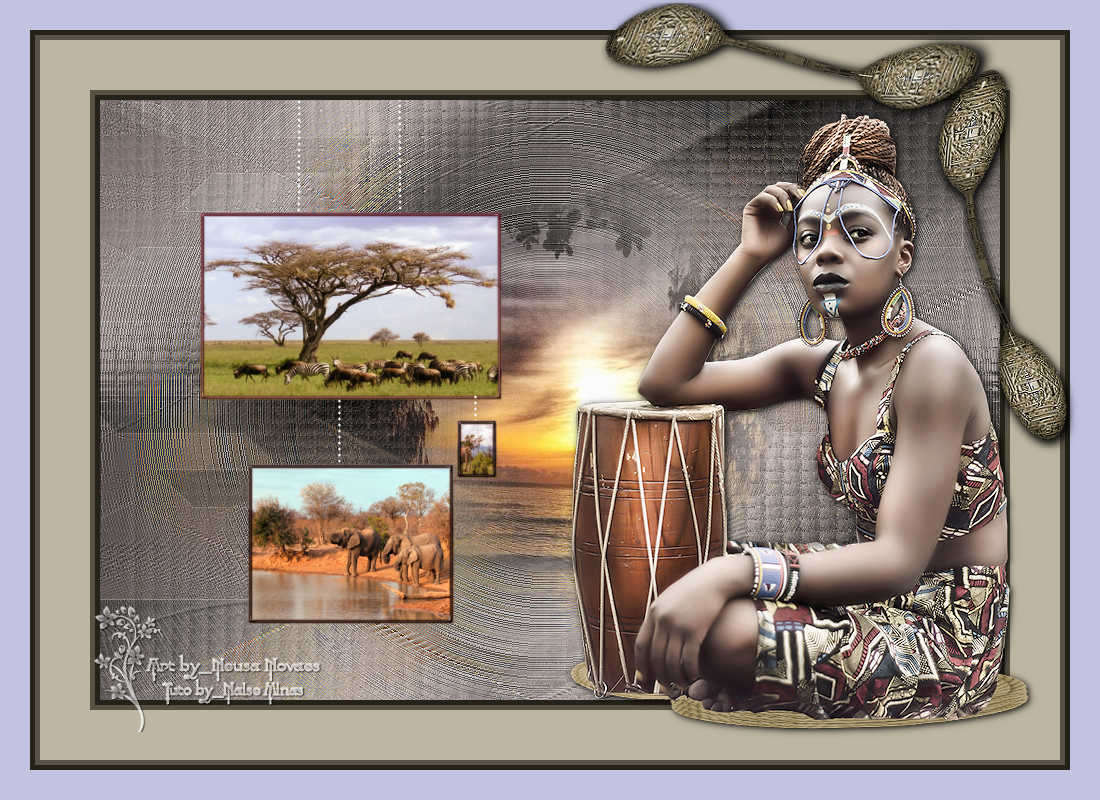
17_. Make the rectangles with the Selection tool (Rectangle), more or less the same size as the original, or to taste. Choose an image for each frame (or to your taste): Edit → Copy and Edit → Paste Into Selection on the selected parts. Layers → Merge → Merge Down. 18_. With the rectangle still selected: Selections → Modify → Select Selection Borders: 3. Fill with a dark color or to taste. 19_. With the layers still open, apply Effects → Plugins → Nik Color Efex Pro 3.0 → Bi-Color Filters to taste. Layers → Merge → Merge Visible. 20_. Image → Add Borders → Symmetric checked: 5 px - dark color (I used #252217) 5 px - lighter color (I used #585244) 50 px - light color (I used #a49d8a) And repeat: 5 px - light color 5 px - dark color 30 px - contrasting color found in your tube 21_. Apply the deco_africa and Adjust → Hue and Saturation → Colorize, or the Nik Color Efex Pro 3.0 plugin used earlier. 22_. Apply your tube. 23_. Sign your work, add the author's watermark and save as JPG.
ANOTHER MODEL
Credits Tutorial by NaiseM 16 08 2017
Other versions
|