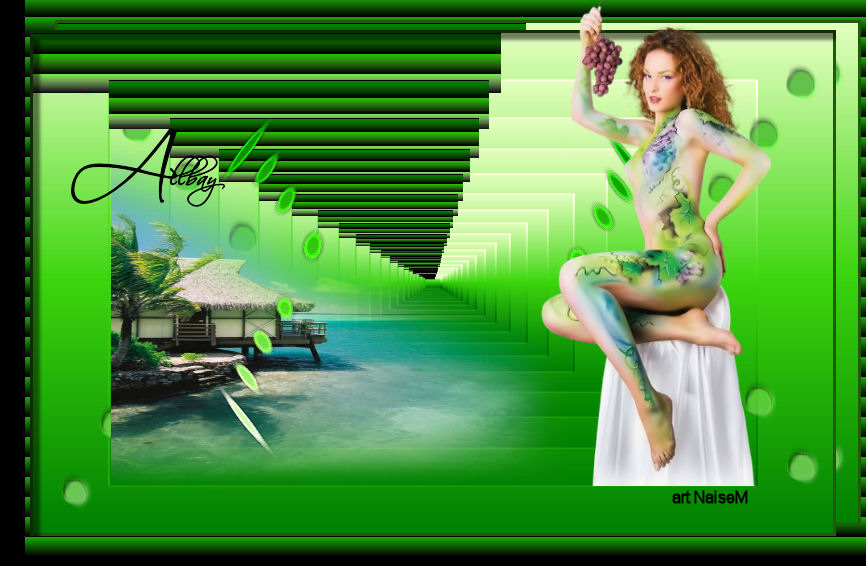
 |
Use the arrow to mark your line
Click with the mouse to move it
|
Walkthrough
1_. Open a tube in PSP, choose two colors and create a Linear gradient: Angle: 0 / Repeats: 1.
2_. Open a new image of 800 x 600 px.
Fill with this gradient.
3_. Effects → Reflection Effects → Feedback.
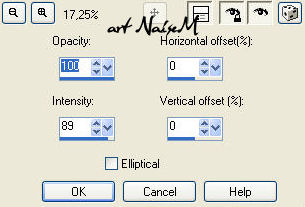
4_. Effects → Edge Effects → Enhance More.
5_. Layers → New Raster Layer.
6_. Fill with the same gradient.
7_. Layers → Load/Save Mask → Load Mask From Disk: NAISEM-DECOR-0012, Invert checked / Delete.
8_. Effects → User Defined Filter → Glass Edges (unzip the preset into the presets folder).
Effects → 3D Effects → Drop Shadow: 2 / 2 / 30 / 5,00.
9_. Layers → Duplicate.
Effects → Geometric Effects → Circle.
Effects → 3D Effects → Drop Shadow: 2 / 2 / 30 / 5,00.
10_. Layers → New Raster Layer.
Selections → Load/Save Selection → Load Selection From Disk: 460x60 full banner.
11_. Fill with the same gradient.
12_. Effects → Texture Effects → Blinds: Width: 20 / Opacity: 100 / H and V checked.
13_. Effects → Reflection Effects → Feedback.
14_. Go back to the background layer and apply an image of your choice.
Layers → Merge → Merge All.
15_. Image → Add Borders:
3 px - dark color
30 px - light color found in your work
With the Magic Wand tool, select this 30 px border.
Apply the same effect Effects → Texture Effects → Blinds.
16_. Still selected: Effects → Image Effects → Offset.
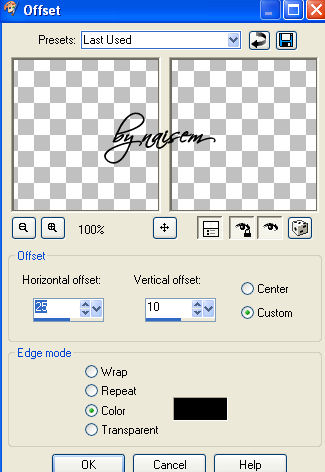
17_. Effects → 3D Effects → Drop Shadow: 10 / 10 / 50 / 5,00.
Selections → Select None.
18_. Apply your tube.
19_. Sign your work.
20_. Save as JPG.
NMCRIAÇÕES
-