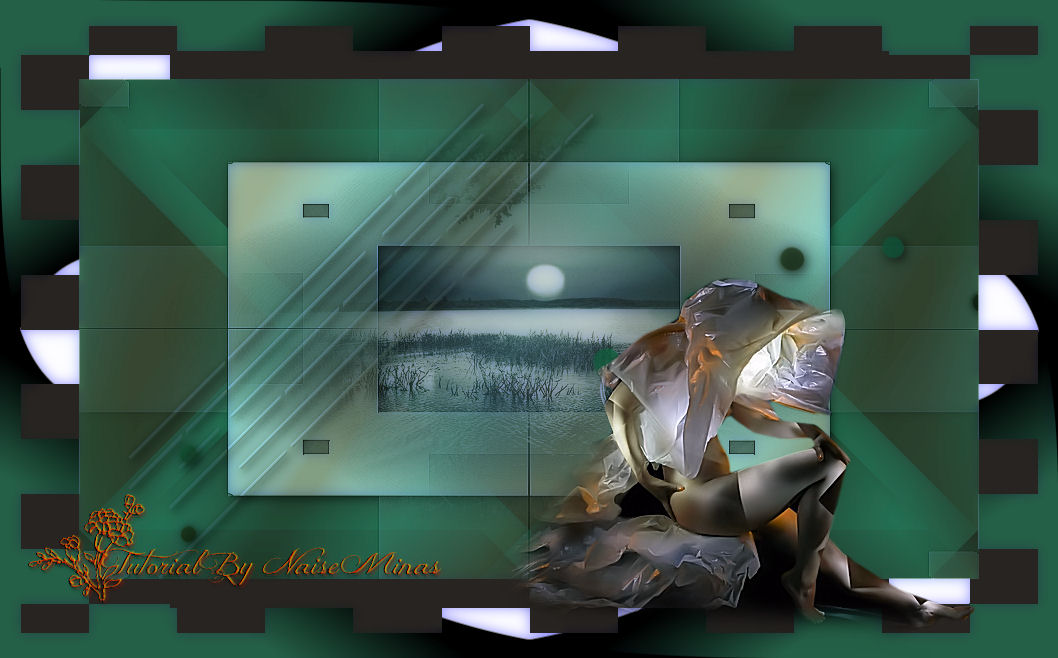
|
Flo
This tutorial was made in PSP 9, but it can be done in any other version.
Materials

Plugins
Simple / Alf's Border FX
 |
Use the arrow to mark your line
Click with the mouse to move it
|
Walkthrough
1_. Choose two colors from your tube or your image and create a Linear gradient: Angle 125 / Repeats 4.
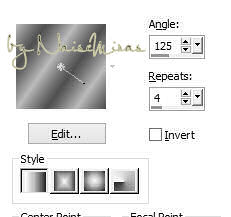
2_. Open a new transparent image of 900 x 600 px and fill it with the gradient.
3_. Effects → Plugins → Simple → Blintz.
4_. Effects → Plugins → Simple → Pizza Slice Mirror.
5_. Layers → Duplicate.
6_. Image → Mirror.
7_. Layers → Properties → Opacity: 50.
8_. Layers → Merge → Merge Visible.
9_. Layers → New Raster Layer.
10_. Fill with a solid color.
11_. Apply the mask mask_hazal1 (attached).
12_. Layers → Delete.
13_. Effects → 3D Effects → Drop Shadow: 3 / 3 / 80 / 15 - black color.

14_. Selections → Load/Save Selection → Load Selection From Disk: tamer57-3.
15_. Selections → Promote Selection to Layer.
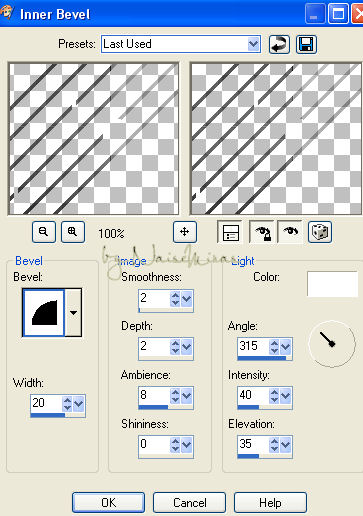
16_. Effects → 3D Effects → Inner Bevel.
17_. Selections → Select None.
18_. Layers → New Raster Layer.
19_. Selections → Load/Save Selection → Load Selection From Disk: selezione102-passiongraphic.
20_. Fill the selected parts with the same gradient, with the same settings.
21_. Selections → Select None.
22_. Effects → 3D Effects → Drop Shadow as you like.
23_. Activate the Merged layer and apply an image.
Layers → Merge → Merge All.
24_. Image → Add Borders → Symmetric checked: 79 px - in the color you wish.
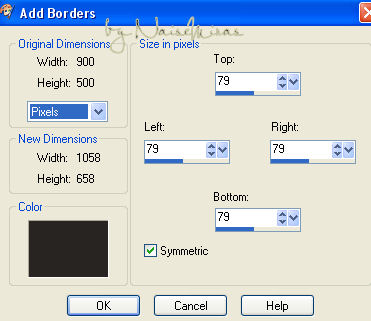
25_. With the Magic Wand tool, select this border.
26_. Effects → Plugins → Alf's Border FX → Border Checkers, with the settings below.
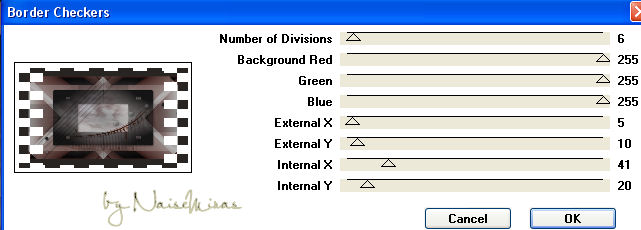
27_. Effects → Image Effects → Page Curl on the 4 corners; choose two colors that match your work.

28_. Layers → Merge → Merge All.
29_. Effects → Plugins → Xero → Porcelain, with the settings as they are.
30_. Apply your tube.
31_. Sign your work.
32_. Save as JPG.
Other examples
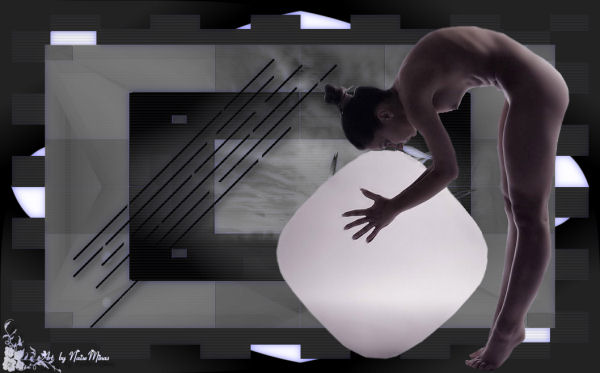
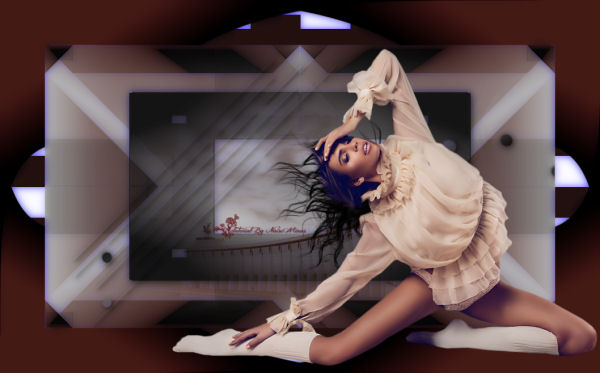
Tubes and images: Ana
Tutorial created by NaiseMinas
on 19/07/2014
Tubes and images by Ana Ridzi
|