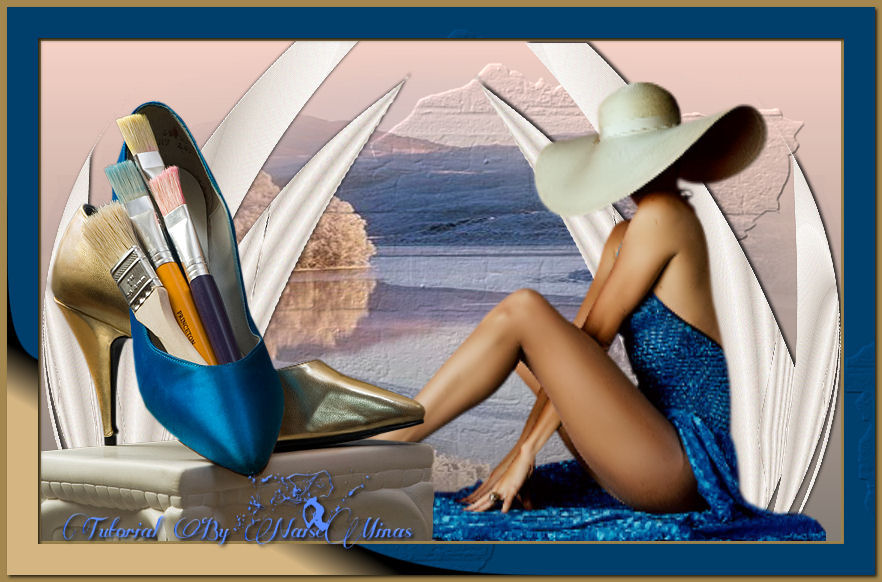
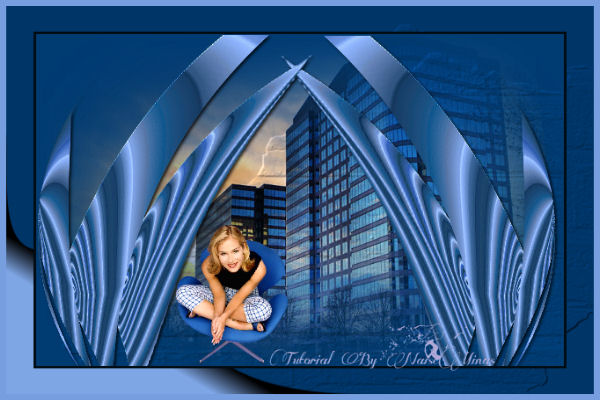
 |
Use the arrow to mark your line
Click with the mouse to move it
|
1_. Choose an image and a tube.
2_. Choose two colors from your tube or your image and create a gradient.
You can also use a gradient from your gradients folder.
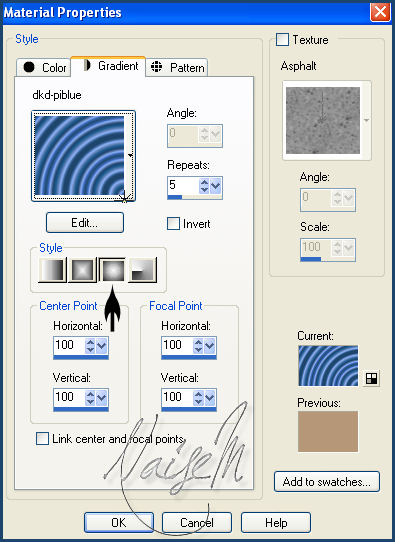
3_. Open a new image of 800 x 500 px.
Fill with this gradient.
4_. Effects → User Defined Filter → Emboss 3.
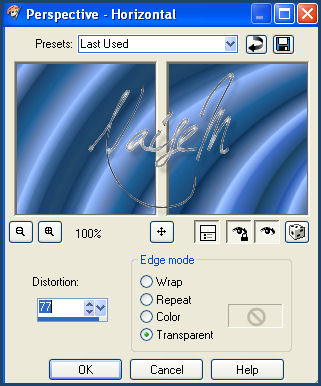
5_. Effects → Geometric Effects → Perspective - Horizontal.
6_. Effects → Plugins → Filters Unlimited 2.0 → Tile & Mirror → Mirror (vertical).
7_. Effects → Edge Effects → Enhance.
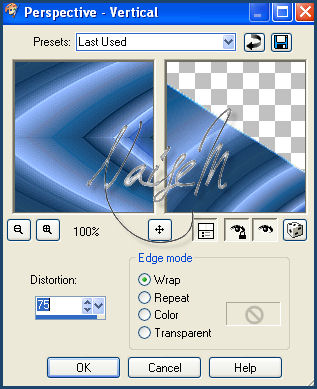
8_. Effects → Geometric Effects → Perspective - Vertical.
9_. Effects → Geometric Effects → Circle: Transparent.
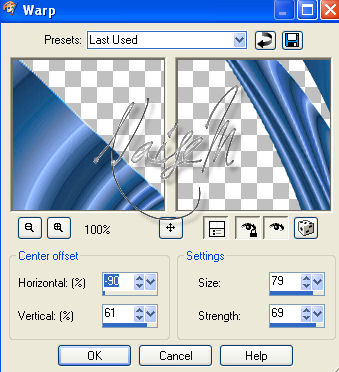
10_. Effects → Distortion Effects → Warp.
11_. Layers → Duplicate.
Image → Mirror.
12_. With the Deform tool, move the Raster 1 image to the right and the copy image to the left.
13_. Layers → Merge → Merge Visible.
14_. Effects → 3D Effects → Drop Shadow: 2 / 2 / 80 / 5.00 - color #000000.
15_. Layers → New Raster Layer.
Fill with a solid color.
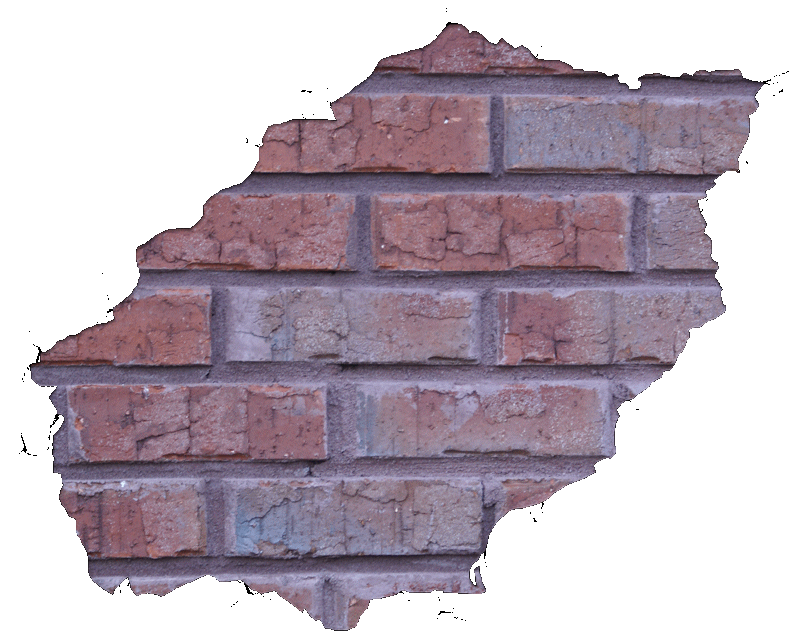
Apply an image.
Layers → Arrange → Send to Bottom.
16_. Go back to the Merged layer and apply Effects → Texture Effects → Texture.
17_. Apply your tubes.
18_. Layers → Merge → Merge All.
19_. Image → Add Borders → Symmetric checked:
3 px
31 px
7 px
20_. With the Magic Wand tool, select the 31 px border.
Apply the same texture.
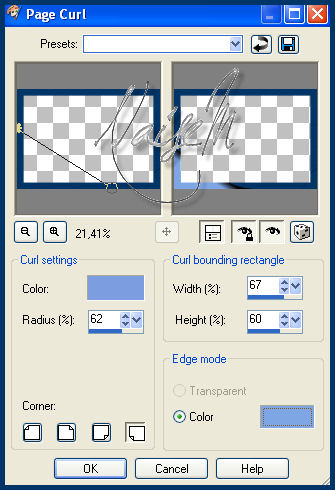
21_. Effects → Image Effects → Page Curl: 4º Corner.
22_. Sign your work.
23_. Save as JPG.