|
Video
Here
Materials used
Preset Shape * PSP tool *
Mask - NaiseM
Tubes - NaiseM
Instructions
 |
Use the arrow to mark your line
Click with the mouse to move it
|
1_. Open a new transparent image of 750 x 550 px.
2_. Choose two colors from your tube: one for the Background and another for the Foreground.
3_. Fill the image with one of the chosen colors.
4_. With the Preset Shape - Rectangle tool, using these settings:

Draw rectangles as shown in the print, alternating the two colors.
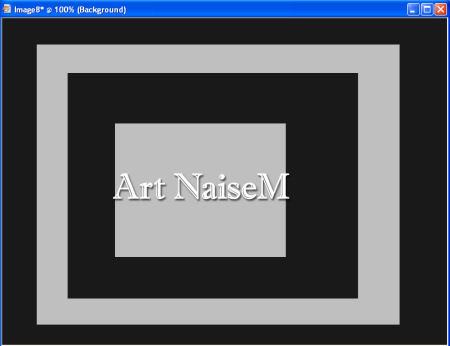
5_. On the last square, make the selection with the Selection Tool.
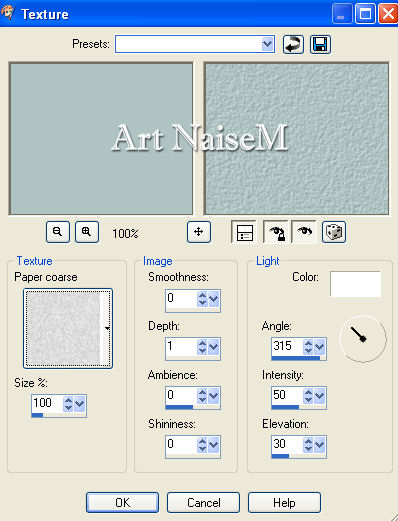
6_. Effects → Texture Effects → Texture: Paper coarse, with the settings shown in the print.
Selections → Select None.
7_. Effects → Image Effects → Seamless Tiling, with the settings shown in the print.
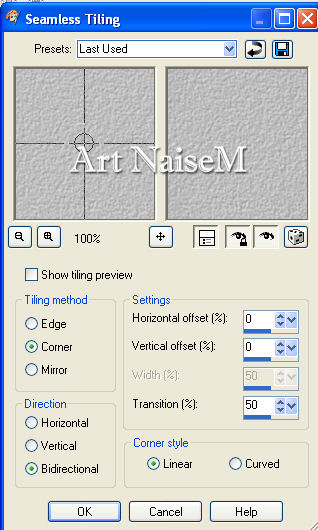
8_. Layers → New Raster Layer and fill with the light color.
9_. Apply the mask naisem-masks-0234 - Invert unchecked.
Layers → Merge → Merge Group.
10_. Effects → 3D Effects → Drop Shadow: 1 / 1 / 100 / 1,00.
11_. Image → Resize as shown in the print.
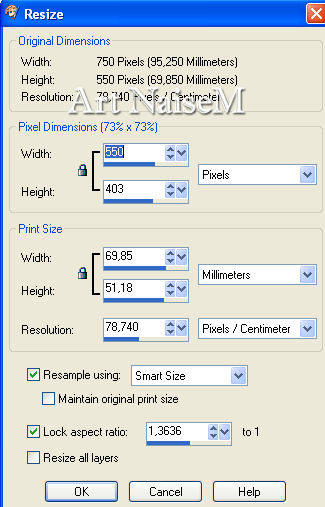
12_. Apply the same Drop Shadow as in step 10.
13_. Layers → Merge → Merge All.
14_. Layers → New Raster Layer and fill with a solid color of your choice.
15_. Effects → Image Effects → Page Curl, with the settings below:
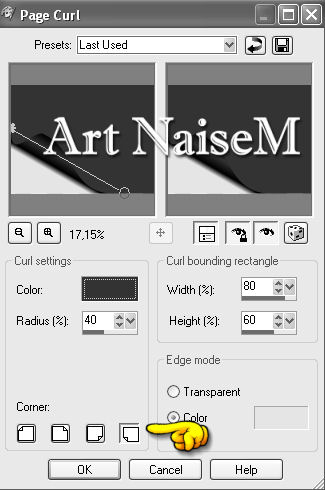
With the Magic Wand tool, click on the smaller part and delete it.
Selections → Select None.
16_. With the Magic Wand tool, click again on the larger part.
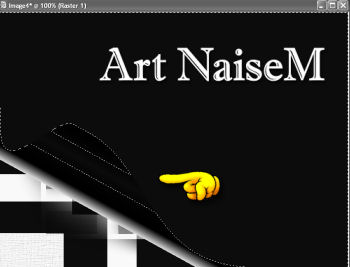
17_. Open your misted: Edit → Copy.
Edit → Paste Into Selection.
18_. Effects → Geometric Effects → Circle: Transparent.
Image → Resize as shown in the print and place it against the right side, a little higher up.
19_. Image → Add Borders: 3 px with a contrasting color.
Image → Add Borders: 39 px with the darkest color of your work.
20_. Layers → New Raster Layer and fill with a light color.
21_. Apply the mask abstrac20001 - Invert checked.
Layers → Merge → Merge Group.
22_. Effects → Edge Effects → Enhance More.
Image → Resize with the settings shown in the print and apply the same Drop Shadow as in step 10.
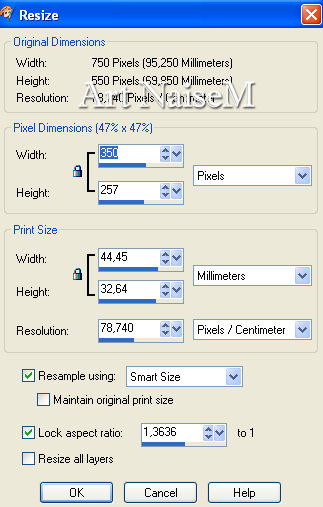
23_. With the Deform tool, pull downwards at the far right end.
24_. Layers → Duplicate.
Image → Mirror → Mirror Horizontal and then Image → Mirror → Mirror Vertical (Flip).
25_. Apply your tube.
26_. Sign your work and save as JPG.
OTHER EXAMPLES
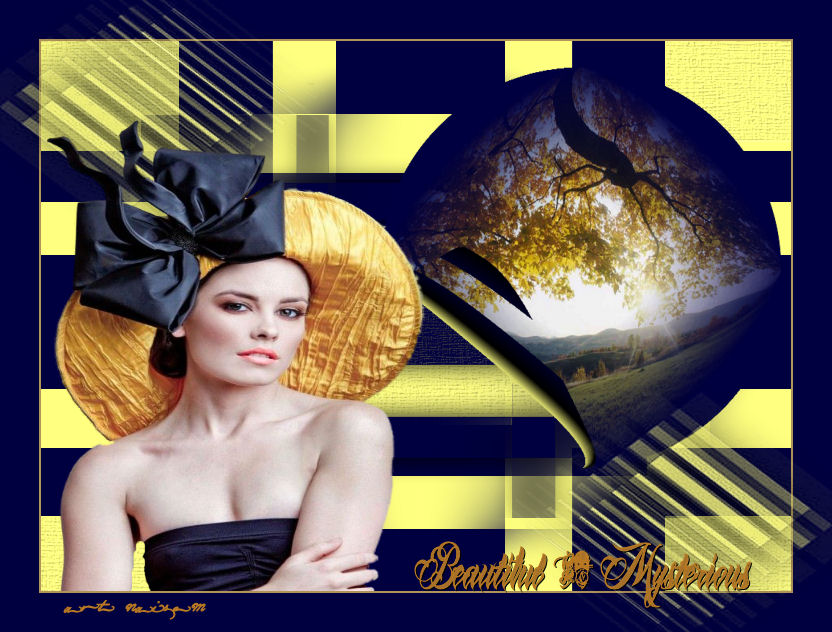
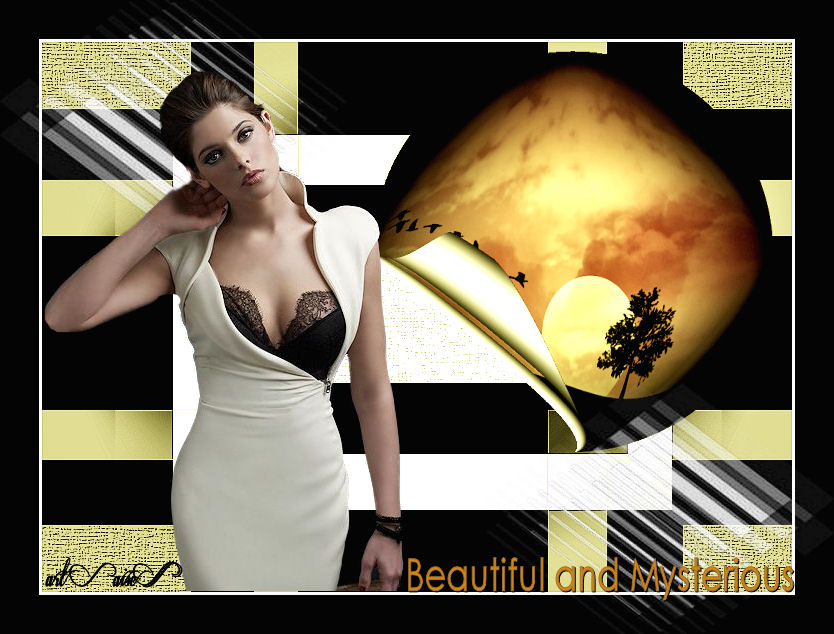
Credits
Tutorial: NaiseM
Tubes: NaiseM
Images: NaiseM
Mask: NaiseM
Abstract mask - author not mentioned
02/02/2016
|