 |
Use the arrow to mark your line
Click with the mouse to move it
|
1_. Open a new transparent image of 1000 x 550 px.
2_. Fill with a solid color (I used #7c5341).
3_. Apply the mask telechargement7: Layers → New Mask Layer → From Image.
Layers → Delete.
4_. Effects → 3D Effects → Drop Shadow: 4 / 4 / 86 / 10.
5_. Layers → New Raster Layer.
6_. Fill with a solid color (#7c5341).
7_. Layers → Arrange → Send to Bottom.
Layers → Merge → Merge All.
8_. Choose an image and apply Edit → Copy.
9_. Activate the Selection tool, type Ellipse, and make the selection as shown in the print.
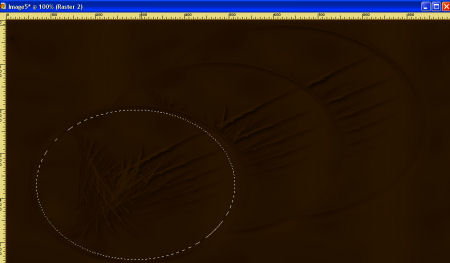
10_. Edit → Paste Into Selection.
11_. Selections → Select None.
12_. Layers → New Raster Layer.
13_. Selections → Load/Save Selection → Load Selection From Disk: wood-des_1.
14_. Effects → Texture Effects → Texture: winni.texture.039.
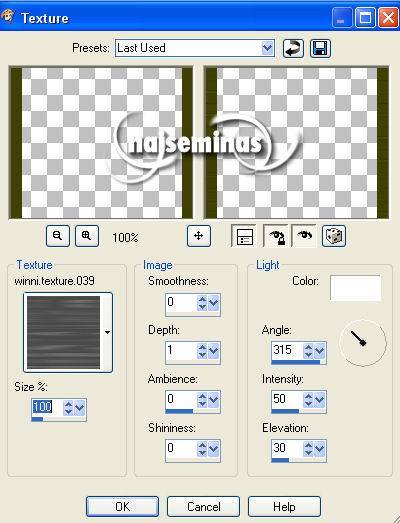
15_. Effects → 3D Effects → Drop Shadow: 4 / 4 / 80 / 10.
16_. Selections → Select None.
17_. Layers → Load/Save Mask → Load Mask From Disk: sg_zipper-tooth.
18_. Layers → Delete.
19_. Apply a Colorize of your choice: Adjust → Hue and Saturation → Colorize.
20_. Effects → Geometric Effects → Circle: Transparent.
21_. Layers → Duplicate.
22_. Image → Mirror.
23_. Layers → Merge → Merge Down.
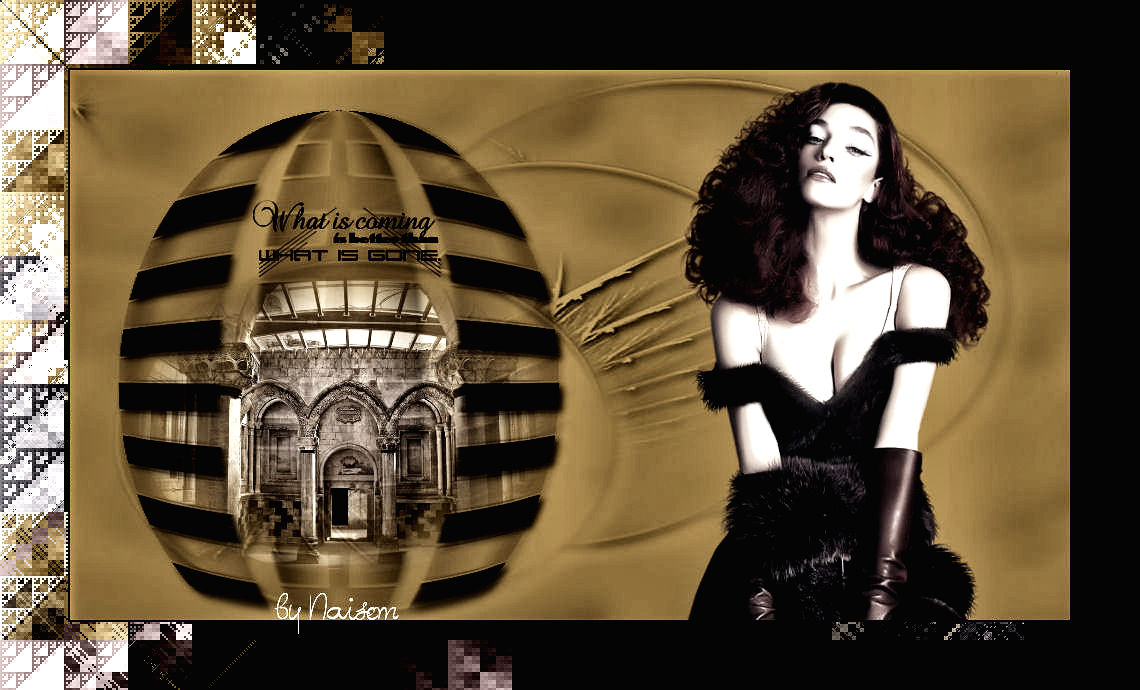
24_. With the Deform tool, drag to the image, as shown in the print.
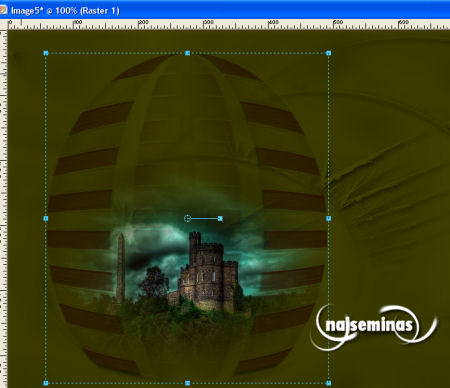
25_. Apply your tube.
26_. Apply brushes of your choice.
27_. Image → Add Borders: 2 px - light color.
Image → Add Borders: 2 px - dark color.
Image → Add Borders: 2 px - color of your choice.
Image → Add Borders: 56 px - a color that is not in your work.
28_. With the Magic Wand tool, select this last border.
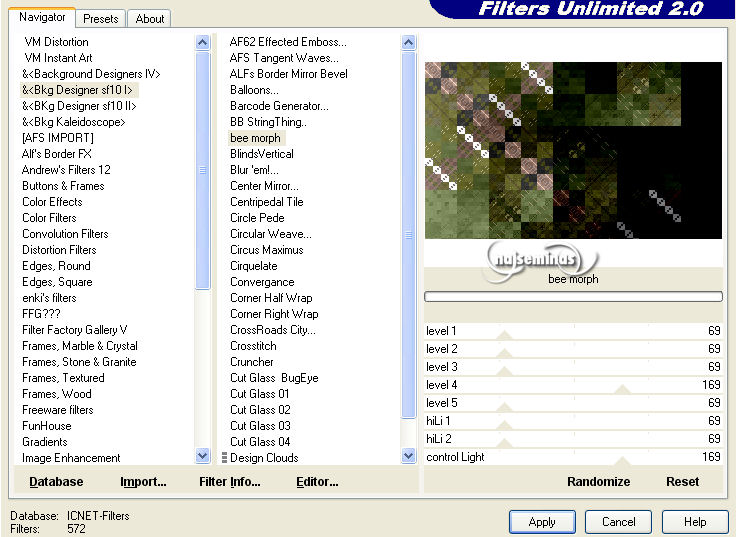
29_. Effects → Plugins → Filters Unlimited 2.0 → &<Bkg Designer sf10 I> → Bee Morph.
30_. Selections → Invert and apply Effects → 3D Effects → Drop Shadow, negative and positive, of your choice (I applied 10 / 10 / 80 / 10).
31_. Layers → Merge → Merge All.
32_. Sign your work.
33_. Save as JPG.
Credits
-
- ** Tutorial created by
NaiseM
**
- Tubes: 1746 - LB Tubes
- Image: Anna Ridzi
- Selection - Marcia Wood
-
- 21/08/2014
-